Introduction
A dirty coffee grinder can ruin even the best beans. Over time, oils and fine grounds build up inside the grinder, leading to bitter flavors, uneven grinds, and poor extraction.
Many coffee lovers overlook this simple step, but learning how to clean a coffee grinder properly is essential for consistent flavor and long-term performance.
This step-by-step coffee grinder cleaning guide shows exactly how to remove buildup, prevent damage, and maintain your grinder—whether you use a blade or burr model.
Our article Burr vs Blade Coffee Grinders: Which Is Better for Home Brewing? explains the differences between the two types of coffee grinders
Table of Contents
Quick Answer
Cleaning a coffee grinder properly involves removing residue, oils, and buildup using dry methods.
How to clean a coffee grinder properly:
- Unplug and empty the grinder.
- Use a soft brush or grinder cleaning tablets to remove residue.
- Wipe removable parts with a dry cloth.
- Avoid water near the motor or electrical components.
- Reassemble and test with a small batch of beans.
Quick tip: Clean weekly for best flavor and grinder longevity.
Why is it important to clean a coffee grinder?
Cleaning prevents oil buildup, improves flavor consistency, and extends the grinder’s lifespan.
A coffee grinder is the heart of any brewing setup. It breaks beans into uniform particles, allowing for balanced extraction and flavor. However, as beans are ground, natural oils and fine particles cling to the burrs or blades. Over time, these residues oxidize, creating rancid flavors that affect every brew.
Cleaning a coffee grinder isn’t just about hygiene—it’s about preserving taste and performance. A clean grinder ensures consistent grind size, prevents overheating, and reduces mechanical wear.
Regular cleaning is especially important when switching between different beans or roast levels. Without it, flavor profiles can mix, dulling the distinct notes of each coffee. Proper maintenance keeps the grinder running smoothly and ensures every cup tastes as intended.
For better brewing results, understanding grind consistency is key—this grind size and extraction guide explains how it affects flavor.
Practical Experience
Professional baristas clean grinders daily because even minimal residue can affect extraction quality and flavor clarity.
Even small amounts of leftover coffee oil can alter the taste of fresh beans. Regular cleaning also prevents clogging and overheating, two common causes of grinder failure.
This guide draws from real-world café maintenance routines and home barista practices to ensure practical, reliable results.
Tools / Materials Needed
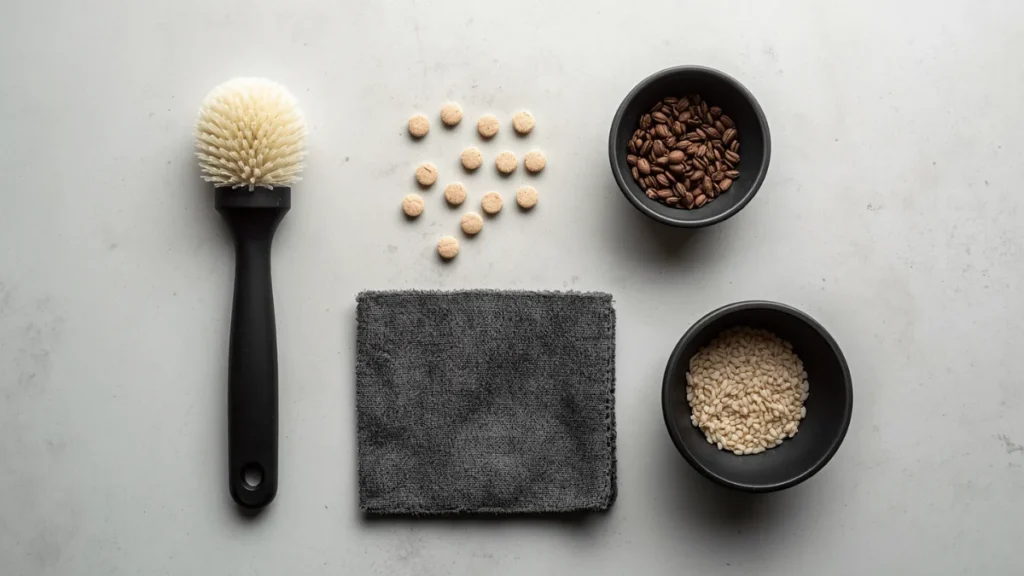
To clean a coffee grinder properly, you’ll need a few simple tools:
- Soft-bristled brush or grinder cleaning brush
- Grinder cleaning tablets or uncooked rice (for burr grinders)
- Dry microfiber cloth
- Small vacuum or compressed air (optional)
- Screwdriver (for deep cleaning removable burrs)
- Bowl or tray for collecting debris
Coffee Grinder Cleaning: Step-by-Step Guide
Step 1: Unplug and Empty the Grinder
Always start by unplugging the grinder for safety. Remove any remaining beans or grounds from the hopper and chamber.
Why it matters: Prevents electrical hazards and ensures no debris interferes with cleaning.
Avoid: Using water at this stage—moisture can damage internal components.
Step 2: Disassemble Removable Parts
Take off the hopper, lid, and burrs (if accessible). Refer to the manufacturer’s manual for guidance.
Why it matters: Disassembly allows access to hidden buildup areas.
Pro Tip: Keep screws and small parts in a bowl to avoid losing them.
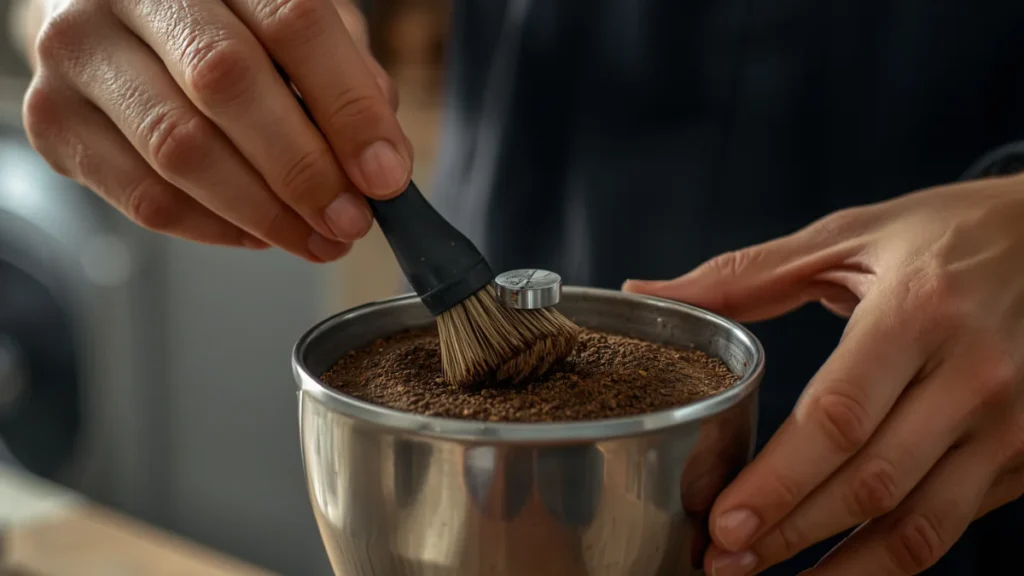
Step 3: Brush Away Loose Grounds
Use a soft brush to sweep out coffee particles from burrs, blades, and crevices.
Why it matters: Loose grounds trap oils and moisture, leading to stale flavors.
Do this, not that: Use a dry brush—never a wet cloth inside the grinder.
Step 4: Use Cleaning Tablets or Rice
Run grinder cleaning tablets or a small handful of uncooked rice through the grinder.
Why it matters: These absorb oils and dislodge fine residue.
Warning: Avoid flavored or instant rice—it can leave unwanted residue.
Step 5: Wipe External and Removable Parts
Use a dry or slightly damp microfiber cloth to clean the hopper, lid, and exterior.
Why it matters: Keeps the grinder looking new and prevents dust buildup.
Avoid: Getting moisture near the motor or burr chamber.
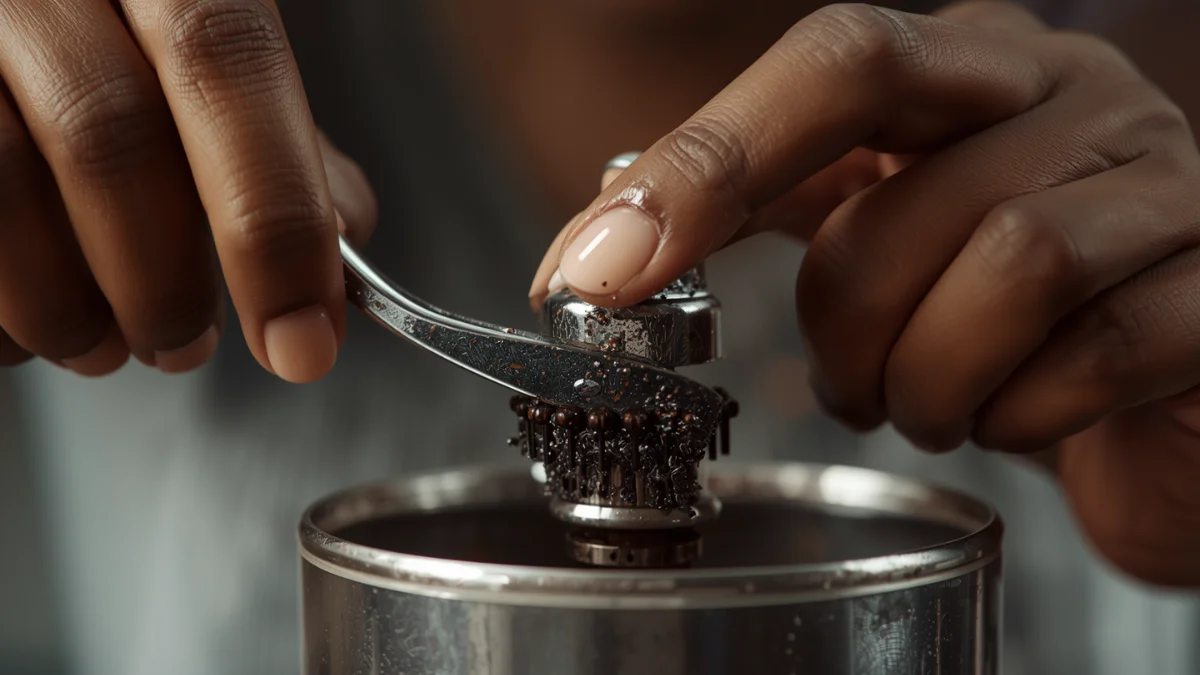
Step 6: Deep Clean Burrs (Optional)
For burr grinders, remove the burrs and clean them individually with a brush or compressed air.
Why it matters: Ensures precision grinding and prevents uneven wear.
Pro Tip: Mark the burr alignment before removal to maintain calibration.
Step 7: Reassemble and Test
Once all parts are clean and dry, reassemble the grinder. Run a small batch of beans to ensure smooth operation.
Why it matters: Confirms proper alignment and removes any remaining residue.
Avoid: Over-tightening screws or forcing parts into place.
Common Coffee Grinder Cleaning Mistakes to Avoid
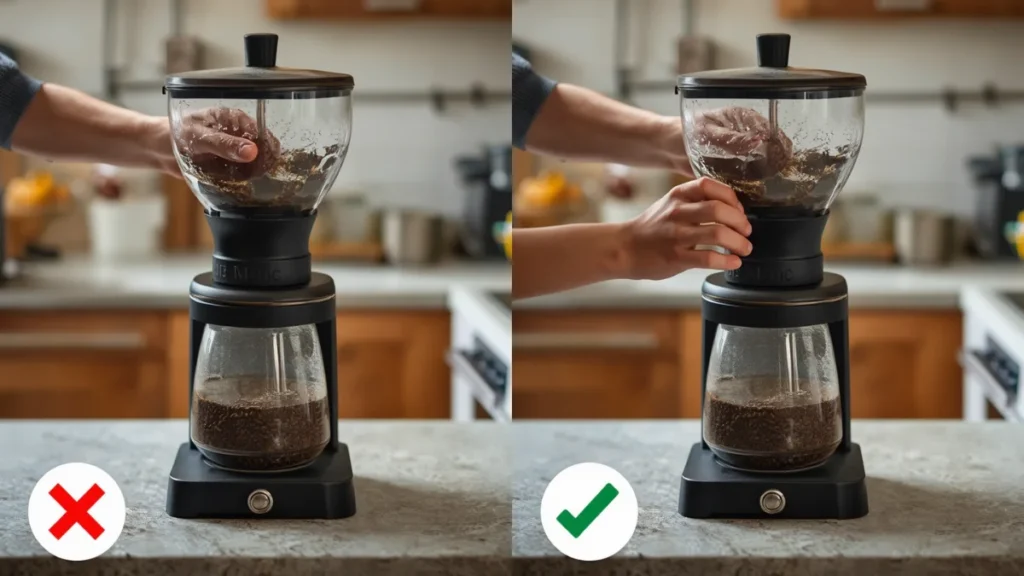
Using water inside the grinder: Moisture can corrode metal parts and damage the motor. Always keep internal components dry.
Skipping regular cleaning: Waiting too long allows oils to harden, making cleaning more difficult and affecting flavor.
Using harsh chemicals: Strong cleaners can leave residues that alter taste. Stick to food-safe cleaning tablets or dry methods.
Ignoring burr alignment: Improper reassembly can cause uneven grinds and mechanical strain. Always note original positions before removal.
Maintenance / Frequency Guide
How often should you clean a coffee grinder?
Daily: Wipe exterior and empty grounds after each use.
Weekly: Brush burrs or blades and clean hopper.
Monthly: Run cleaning tablets or rice through the grinder.
Quarterly: Deep clean burrs and inspect for wear.
Consistent maintenance ensures optimal performance, flavor consistency, and extended grinder lifespan.
Variations and Use Cases
Cleaning methods vary depending on the type of coffee grinder you use:
Blade Grinder:
Clean by pulsing the rice or using cleaning tablets, then wipe with a dry cloth. Avoid disassembling the motor housing.
Burr Grinder:
Requires more thorough cleaning—remove burrs, brush thoroughly, and use cleaning tablets to remove oil.
Manual Grinder:
Disassemble completely, brush burrs, and wipe all parts. Manual grinders are easier to clean but require frequent maintenance due to smaller chambers.
Each grinder type benefits from regular cleaning, but the method and frequency vary based on design and usage.
For better brewing results, understanding grind consistency is key—this grind size and extraction guide explains how it affects flavor.
For those building a complete coffee setup, check out the Coffee Equipment Buying Guide to choose the right grinder for specific brewing styles.
how to clean a coffee grinder properly: FAQs
Can I use water to clean a coffee grinder?
No. Water can damage the motor and metal parts. Use dry-cleaning methods, such as brushes or cleaning tablets, instead.
How often should I clean my coffee grinder?
Light cleaning weekly and deep cleaning monthly is ideal for most home users. Heavy use may require more frequent maintenance.
Can I use rice instead of cleaning tablets?
Yes, uncooked white rice works well for burr grinders. Avoid flavored or instant rice to prevent residue buildup.
Why does my coffee taste bitter after grinding?
Old coffee oils and residue can cause bitterness. Cleaning the grinder removes these contaminants and restores flavor clarity.
Do cleaning tablets affect the grinder’s performance?
No. They’re designed to safely remove oils and debris without damaging burrs or blades.
TL;DR Summary
- Deep clean monthly for long-term maintenance.
- Unplug and empty the grinder before cleaning.
- Use a brush or cleaning tablets to remove residue.
- Avoid water inside the grinder.
- Clean weekly for best flavor and performance.
Final Thoughts
Cleaning a coffee grinder properly isn’t complicated—it’s a simple habit that pays off with every brew. A clean grinder ensures consistent flavor, prevents mechanical issues, and extends the life of the equipment.
By following this step-by-step guide, coffee lovers can maintain peak performance and enjoy the full flavor potential of their beans. Regular cleaning is the easiest way to elevate every cup and protect the investment in quality coffee gear.
If you’re just starting out, this complete home coffee-brewing guide will help you understand the basics of brewing methods, grinders, and tools.