
Quick Answer
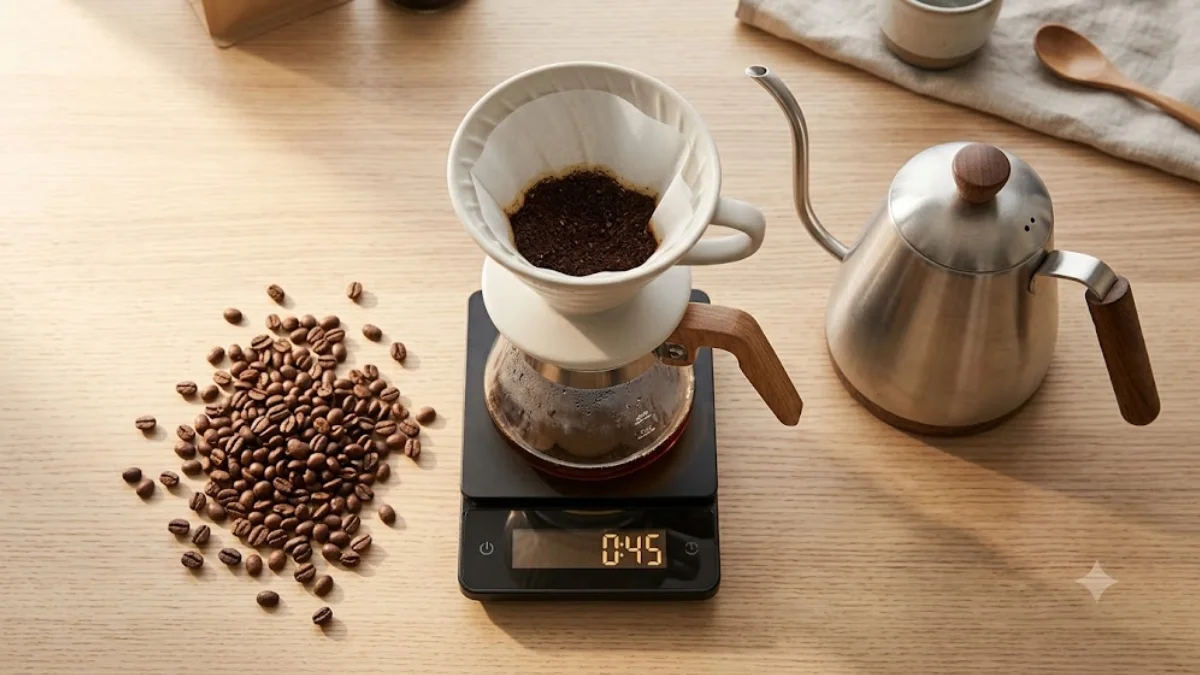
A timer is not strictly required for brewing coffee, but it’s one of the simplest upgrades you can make. Timing controls extraction, helps you repeat good results, and makes it much easier to figure out what went wrong when a cup doesn’t taste right. It matters most for pour over and French press — less so for drip machines and cold brew.
Introduction
Most beginners spend their early coffee energy on the right things — finding good beans, dialing in grind size, getting the ratio right. Those variables matter, and focusing on them first makes sense.
But there’s a variable that often gets overlooked until something goes wrong: brewing time.
Time is one of the four main controls in coffee extraction, alongside grind size, water temperature, and coffee-to-water ratio. Pull water away from the grounds too soon, and you get under-extracted, sour coffee. Leave it too long, and over-extraction turns the cup bitter and hollow.
The question isn’t really whether timing matters — it does, clearly. The question is whether you need a dedicated timer to manage it or can get by without one.
This guide gives you a straight answer, explains when a timer actually makes a difference, and helps you decide what kind of timer (if any) makes sense for how you brew.
Why Brewing Time Matters
Every brewing method works on the same underlying principle: water extracts flavor compounds from coffee grounds over time. The flavor compounds don’t all extract at the same rate — acids come out first, then sugars, then bitter compounds last.
Brew time determines which of those compounds end up in your cup, and in what proportion.
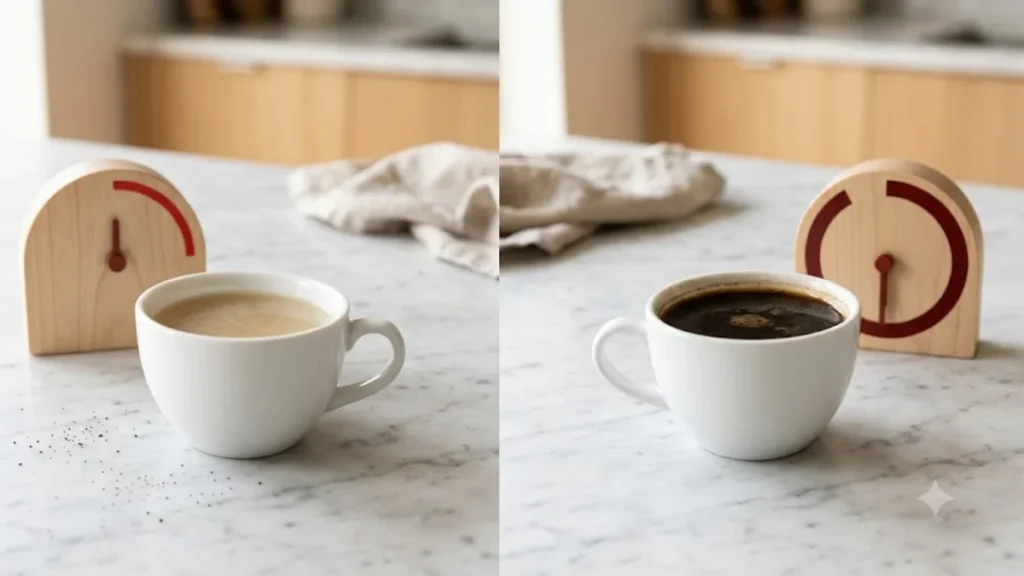
Too short: Water doesn’t have enough time to pull the sugars and balance out the early acids. The result is under-extracted coffee — sour, sharp, thin, and often a bit flat.
Too long: Water keeps extracting past the point where the pleasant compounds are gone, pulling out the bitter and astringent ones instead. The result is over-extracted coffee — harsh, dry, and unpleasantly heavy.
Just right: Water extracts the right balance of acids, sugars, and other compounds for a full, rounded, satisfying cup.
Grind size affects how quickly this extraction happens. Brew time is what determines how long it runs. The two work together. You can’t manage one effectively while completely ignoring the other.
For a deeper look at how this all connects, see Coffee Extraction Explained.
When a Timer Actually Makes a Difference
Not every brewing method needs the same level of timing precision. Here’s an honest breakdown by method.
Pour Over Coffee
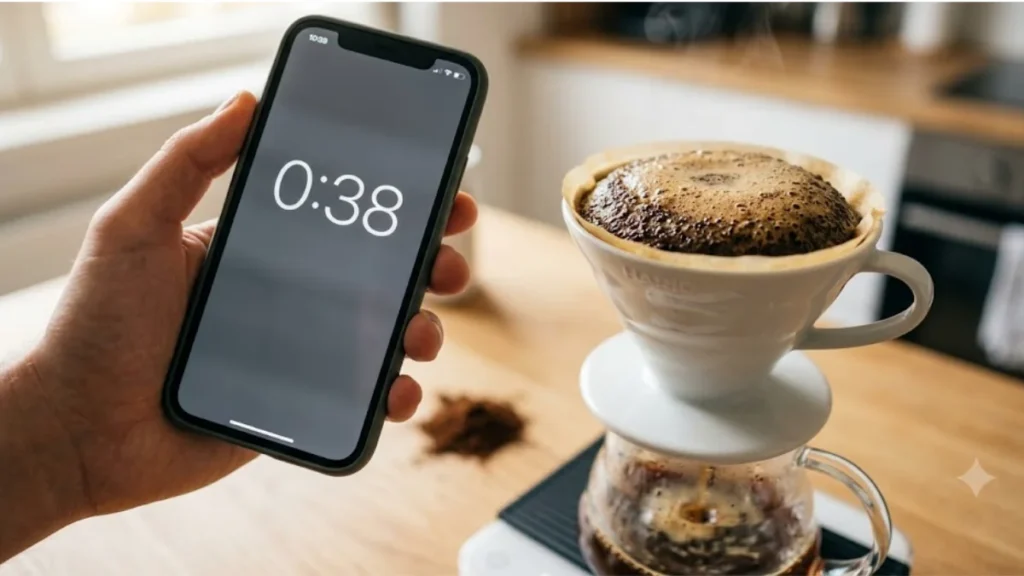
This is where a timer matters most. Pour-over is a manual, hands-on process with several distinct timing windows — the bloom, the main pour, and the total brew time — each of which directly affects the final flavor.
The bloom (that 30–45 second pause at the start) releases trapped CO2 from fresh coffee grounds. Rush past it, and water can’t extract evenly from the coffee bed. Skip it entirely, and you’re consistently under-extracting before the main pour even begins.
Total brew time for a standard single-cup pour over should fall between 2 minutes 30 seconds and 3 minutes 30 seconds. A brew that finishes in under 2 minutes means the water passed through too quickly — likely due to a grind that’s too coarse. One that drags past 4 minutes means the grind is too fine or the pour is too slow.
Without a timer, it’s very difficult to know which of these scenarios you’re in. You’re essentially guessing — and that makes improving your pour-over nearly impossible, because you have no reliable data to adjust by.
A timer turns pour-over from a daily guessing game into a process you can actually learn from. See the full Pour Over Coffee Guide for the complete method.
French Press Coffee
French press is a full-immersion method. Grounds steep in water for the entire brew time, so there’s no draining — once the water is in, extraction continues until you press and pour.
The standard steep time is 4 minutes for most coffees. This is one of the most well-established numbers in home brewing, and for good reason — it produces a balanced, full-bodied cup with medium- to dark-roasted beans at a standard 1:15 ratio.
The key risk with French press and no timer: leaving the grounds to steep too long. Even a couple of extra minutes can push the cup noticeably toward bitterness. It’s also easy to lose track of time while the press is sitting on the counter — especially in a busy morning routine.
A timer here isn’t about second-level precision. It’s about not accidentally steeping for 6 or 7 minutes while you’re distracted. That’s a very easy mistake to make and a very easy one to prevent. See the French Press Coffee Guide for timing and technique.
Cold Brew Coffee
Cold brew is the most forgiving method when it comes to timing. Steep times range from 12 to 24 hours, so a 30-minute variance in either direction barely affects the result. There’s no bloom step, no active pour to manage, and no risk of sharp over-extraction in the way that pour over and French press carry.
That said, a timer is still useful for cold brew in one specific way: consistency between batches. If you steep one batch for 14 hours and the next for 20 hours, you’ll notice a flavor difference. Keeping a note or setting a reminder helps you find the steep time that works for your preferred strength — and repeat it reliably.
For practical cold brew ratios and timing, see the Cold Brew Coffee Guide.
Drip Machines
Automatic drip machines handle timing internally. There’s nothing for you to manage. A timer is not useful or relevant here.
The Real Benefits of Using a Timer
Consistency
This is the main one. A timer lets you brew the same cup twice. Without it, every brew is slightly different — different steep time, different bloom duration, different total extraction. With it, you have a reliable baseline to work from.
Better Troubleshooting
When something tastes off, a timer gives you a data point. If your pour over tasted sour this morning, you can check whether it also finished in under 2 minutes. If it did, grind finer. If it finished in the right window, look at a different variable. Without timing data, troubleshooting is guesswork.
Faster Improvement
Brewing coffee well is a skill that develops through deliberate repetition. A timer turns each brew into a small experiment with measurable conditions. You learn faster when you have actual information to work with rather than a vague sense of how long things took.
Timer vs No Timer
| With Timer | Without Timer | |
|---|---|---|
| Consistency | High | Variable |
| Troubleshooting | Easy — data to work from | Difficult — guessing |
| Learning curve | Faster | Slower |
| Effort required | Minimal | Less upfront, more long-term |
| Best for | Pour over, French press | Cold brew, drip |
What Kind of Timer Should You Use?
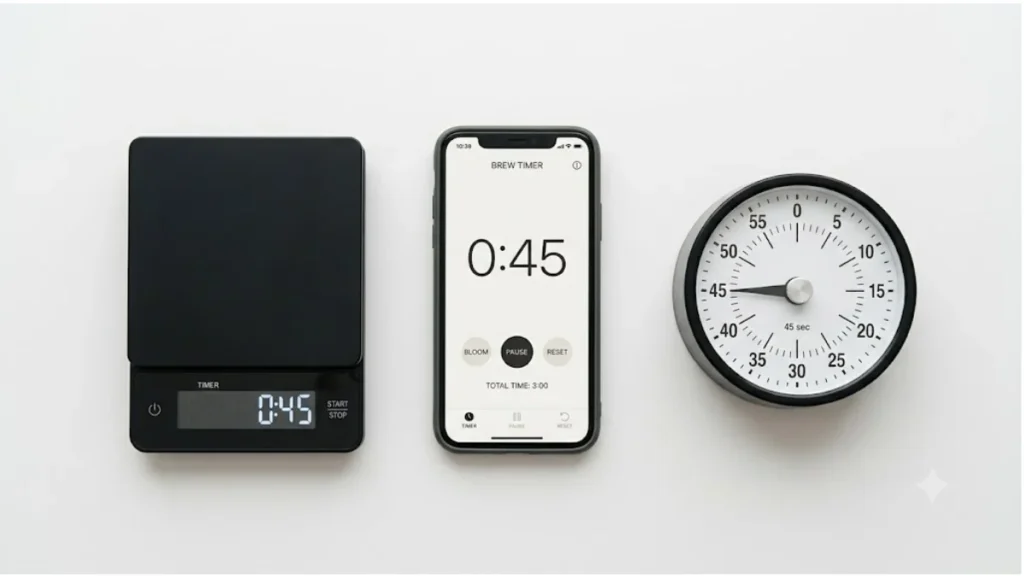
You don’t need anything special. The right timer is the one you’ll actually use consistently.
Built-In Timer on a Coffee Scale
This is the most convenient option for pour over specifically. Many coffee scales include a built-in timer that starts when you begin pouring, so you can measure weight and time with a single glance on the same device. It removes one step from the process and keeps your counter cleaner. See the Best Coffee Scales guide for options.
Smartphone Timer
The simplest option for most people and perfectly adequate. Open your clock app, tap the timer, start it when you begin your bloom. The only minor drawback is that your phone might be across the room, or you might accidentally dismiss the notification — small irritations but not real problems.
Dedicated Kitchen Timer
A basic standalone kitchen timer costs very little, lives permanently on the counter, and requires zero setup. For people who prefer to keep their phone out of the kitchen routine, this is a clean, simple solution.
The honest bottom line: any timer beats no timer. Choose whichever adds the least friction to your morning routine.
How to Use a Timer for Pour Over and French Press
Pour Over (Step by Step)
- Set your scale and dripper, add your coffee.
- Start the timer the moment you begin your bloom pour.
- Add bloom water (roughly twice the weight of your coffee).
- At 30–45 seconds, begin your main pour in slow, circular motions.
- Continue pouring in stages, keeping the water level consistent above the coffee bed.
- Target finish time: 2:30 to 3:30 from the moment you started.
- If it finished faster, grind finer next time. If slower, grind coarser.
French Press (Step by Step)
- Add coarsely ground coffee to your French press.
- Start the timer the moment you add hot water.
- Give the grounds a gentle stir to ensure even saturation.
- Place the lid on loosely without pressing.
- At 4 minutes, press slowly and serve immediately.
- Don’t leave brewed coffee sitting in the press — pour it all out to stop extraction.
Common Timing Mistakes to Avoid
Ignoring brew time completely. Not timing at all means you have no baseline to improve from. Even an approximate time is more useful than nothing.
Guessing and assuming it’s close enough. Human time perception is surprisingly unreliable, especially during a busy morning. A minute can feel like two, or two can feel like one. The coffee doesn’t care how busy you are — extraction keeps running regardless.
Over-engineering it. You don’t need a stopwatch accurate to the millisecond. A regular kitchen timer or phone app is more than sufficient. Timing coffee is simple — don’t make it feel like a lab experiment.
Timing the wrong thing. For pour over, start your timer at the bloom, not when your kettle finishes boiling. For French press, start when water hits the grounds, not when you press.
Do Beginners Really Need a Timer?
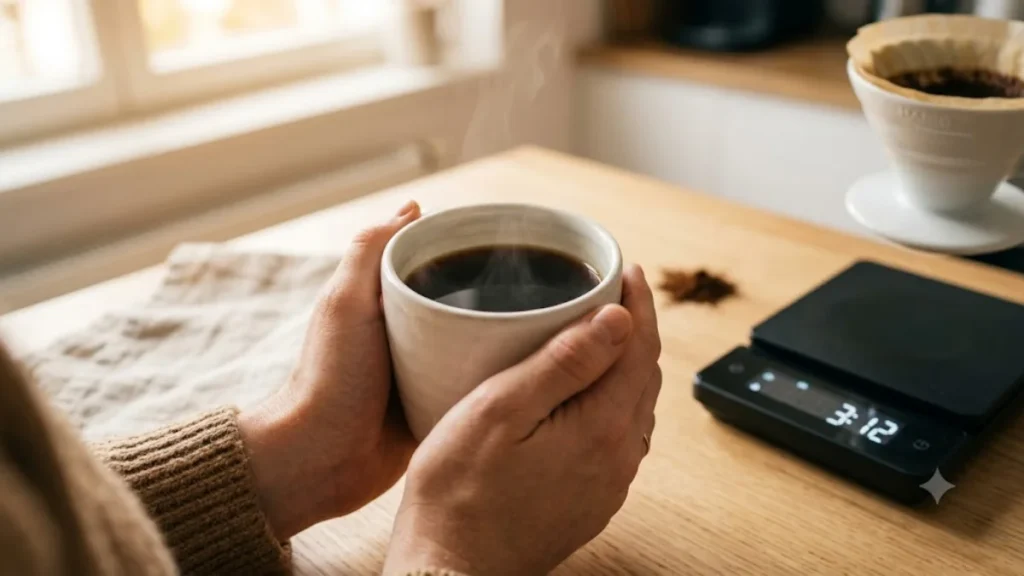
If you’re new to manual brewing — yes, using a timer from the start is one of the best habits you can build.
Here’s the practical reason: beginners learning pour-over or French press are usually adjusting multiple variables at the same time — grind size, ratio, and water temperature. If brewing time is also floating around uncontrolled, it becomes very hard to identify which change actually made the difference when a cup improves or worsens.
A timer removes one variable from the uncertainty. That means fewer things to blame when something goes wrong, and clearer feedback when you get something right.
It also helps you understand the brewing process faster. When you watch the clock during a bloom and notice the grounds swelling for exactly 40 seconds before you continue, you start to develop an intuitive sense of what good brewing looks and feels like. That intuition develops much more slowly when timing is left to chance.
FAQs
Can I brew coffee without a timer?
Yes — millions of people do, every morning. But without timing, you’re relying on habit and guesswork rather than a repeatable process. Results will vary more, and diagnosing problems is harder. A timer costs nothing if you use your phone, so the barrier to trying it is very low.
Is a timer necessary for pour over coffee?
Not strictly necessary, but it’s the single most useful addition to a pour-over routine after a scale. Without timing the bloom and total brew time, pour-over consistency is difficult to achieve regardless of technique.
What is the ideal brew time for pour over?
For a standard single cup, 2 minutes 30 seconds to 3 minutes 30 seconds total from the start of the bloom. Consistently outside that window is a sign that grind size needs adjusting. See How Coffee Grind Size Affects Taste for details.
Does timing affect coffee taste?
Yes, directly. Brew time controls how long water extracts from the grounds, which determines whether you end up with under-extracted (sour), over-extracted (bitter), or balanced coffee. It’s one of the four main extraction variables alongside grind size, water temperature, and ratio.
What’s the best timer for coffee brewing?
The one you’ll actually use. A built-in timer on a coffee scale is the most convenient for pour over since it combines weight and time in one device. A phone timer is perfectly effective for French press. A dedicated kitchen timer works well if you prefer to keep your phone out of the routine.
Key Takeaways
- Brew time controls extraction — too short yields sour coffee; too long yields bitter coffee.
- A timer is most important for pour-over and French press, where the timing windows are short enough to make a noticeable difference.
- You don’t need special equipment — your phone’s timer app works perfectly.
- Beginners benefit most from using a timer — it removes one variable and significantly accelerates the learning curve.
- A timer on a coffee scale is the most convenient option for pour over specifically, combining weight and time in one view.
Recommended Reading
- Home Coffee Brewing Guide
- Coffee Extraction Explained
- Pour Over Coffee Guide
- French Press Coffee Guide
- Cold Brew Coffee Guide
- Coffee Scale Guide
- Under-Extracted vs Over-Extracted Coffee