
Quick Answer Box
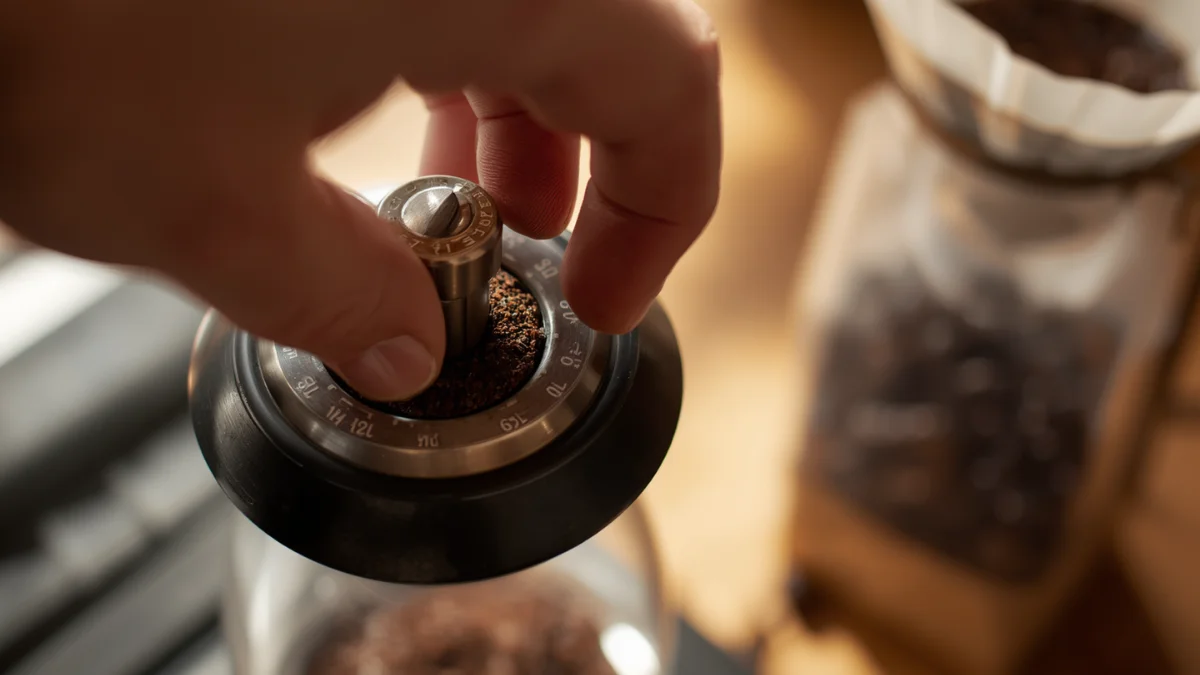
To adjust grind size on a burr grinder, turn the adjustment dial or knob toward finer for slower extraction and more flavor, toward coarser for faster extraction and a lighter cup. Always adjust in small increments, brew a test cup, and taste before making further changes. Never adjust while the grinder is actively running.
Introduction
Grind size is one of the most powerful variables in coffee brewing. You can have excellent beans, a good brewing method, and the right water temperature — and still end up with a disappointing cup if the grind size is off.
The good news is that a burr grinder gives you direct, repeatable control over grind size. Unlike blade grinders, which chop coffee randomly, a burr grinder crushes beans between two abrasive surfaces at a consistent, adjustable gap. Change that gap, and you change your grind size.
The process is straightforward once you understand the mechanics. This guide walks you through finding your grinder’s adjustment mechanism, matching grind size to your brewing method, and using taste and brew time to guide every adjustment you make.
Explore our top manual grinder picks
What Is Grind Size Adjustment?
Grind size adjustment changes the distance between the two burrs inside your grinder. A smaller gap produces finer grounds. A larger gap produces coarser grounds.
This matters because grind size directly controls how fast water extracts flavor from coffee:
Finer grounds have more surface area exposed to water. Water extracts flavor faster. This suits brewing methods with short contact times, like espresso or AeroPress.
Coarser grounds have less surface area. Extraction is slower. This suits methods with longer contact times, like French press and cold brew.
When grind size doesn’t match your brewing method, extraction goes wrong in a predictable direction:
- Too fine for your method → over-extraction → bitter, harsh, astringent coffee
- Too coarse for your method → under-extraction → sour, thin, weak coffee
Adjusting grind size is how you steer between those two failure points toward a balanced, enjoyable cup.
For a deeper look at the relationship between grind size and flavor, see How Coffee Grind Size Affects Coffee Taste and Coffee Extraction Explained.
Know Your Grinder Before You Adjust
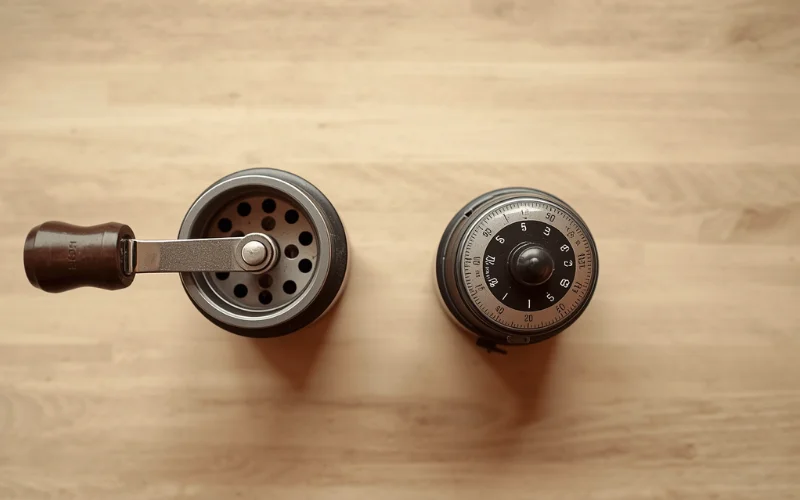
Adjustment mechanisms vary between grinder types. Knowing what you have saves time and prevents accidental damage.
Manual Burr Grinders
Manual grinders typically have an adjustment ring, collar, or numbered dial located at the top of the grinding chamber, just below the bean hopper, or underneath the catch cup depending on the model.
On most manual grinders, turning the adjustment ring clockwise makes the grind finer, and counterclockwise makes it coarser — but this varies between brands. Check the markings on your grinder or in your manual to confirm the direction for your specific model.
Popular manual grinders like the 1Zpresso J and Timemore C2 use numbered click systems, which makes repeating settings very easy. Count the number of clicks from your reference point rather than estimating by feel.
Electric Burr Grinders
Electric burr grinders typically use a numbered dial or stepped ring on the outside of the hopper, or a stepless adjustment mechanism for finer control. Most consumer-grade electric grinders label settings numerically from fine to coarse, or use descriptive labels like “espresso → drip → coarse.”
Stepped grinders have discrete clicks between settings — easier to track and repeat. Stepless grinders offer continuous adjustment without clicks — more precise but requires more careful note-taking.
See the Manual Coffee Grinder Buying Guide for a full overview of grinder types and their adjustment systems.
Step-by-Step: How to Adjust Grind Size on a Burr Grinder
Step 1: Identify the Adjustment Mechanism
Before touching anything, locate the adjustment mechanism on your grinder. Look for:
- A numbered dial or ring on the outside of the hopper
- A collar or ring directly below the hopper
- A knob or lever on the side of an electric grinder body
- A click-adjustment ring under the catch cup on some manual models
Most grinders label the direction of adjustment — either with numbers (lower = finer on most models), arrows, or descriptive text. If your grinder has no markings, a quick search for your specific model will confirm which direction is finer.
Important: Make sure the grinder is not running when you adjust. Adjusting a burr grinder while beans are actively grinding can damage the burrs and cause inconsistent particle size. Always adjust before loading beans, or after the current batch has finished grinding.
Step 2: Set a Starting Point for Your Brewing Method
Different brewing methods need different grind sizes. Use this as your starting reference:
| Brewing Method | Starting Grind Size | Visual Reference |
|---|---|---|
| Espresso | Extra-fine | Flour-like powder |
| Moka pot | Fine | Fine table salt |
| AeroPress | Fine to medium-fine | Fine sugar |
| Pour over (V60) | Medium-fine | Table salt |
| Chemex | Medium-coarse | Coarse sand |
| French press | Coarse | Coarse sea salt |
| Cold brew | Extra-coarse | Raw sugar crystals |
If you’re switching between brewing methods, this table gives you a sensible starting point to dial in from. See the Coffee Grind Size Chart for a full visual and method-by-method breakdown.
Step 3: Make Your Adjustment in Small Increments
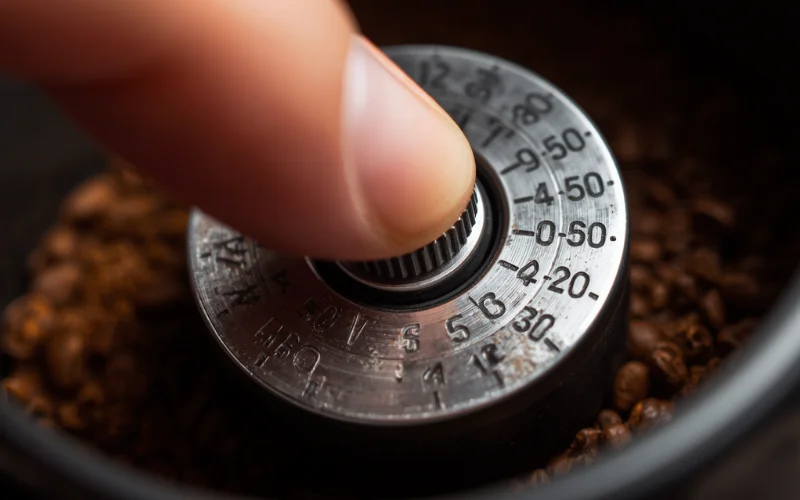
Turn the dial or ring one small step — one click on a stepped grinder, or a small rotation on a stepless one. Resist the urge to make large adjustments, especially when you’re close to the right setting.
On most grinders, one click changes the grind size by a small but noticeable amount. For pour-over, a single click in the right direction is often enough to shift the brew time by 20–30 seconds and noticeably change the flavor.
A common convention: On most grinders, turning toward lower numbers or clockwise means finer. Turning toward higher numbers or counterclockwise means a coarser setting. Always confirm this for your specific model — conventions vary between manufacturers.
Step 4: Grind a Small Test Dose
After adjusting, grind enough coffee for one brew at your usual dose. Don’t use leftover grounds from before the adjustment — they were ground at the old setting and will give you a mixed result that’s hard to evaluate accurately.
If your grinder has any retention (grounds left in from the previous session), grind and discard a small amount of coffee first to clear the old setting before grinding your test dose.
Step 5: Brew and Taste
This is the most important step. Brew your test dose exactly as you normally would — same water volume, same temperature, same technique. Then taste the coffee and observe the brew time.
Use these two signals together to guide your next adjustment:
Flavor:
- Too bitter or harsh → grind is too fine → adjust coarser
- Too sour or thin → grind is too coarse → adjust finer
- Balanced, with pleasant sweetness and body → you’re in the right range
Brew time (pour over and drip methods):
- Draining much faster than expected → grind too coarse
- Draining much slower than expected, or water pooling → grind too fine
Step 6: Adjust Again if Needed — One Step at a Time
If the cup isn’t right yet, make one more small adjustment in the appropriate direction. Brew again. Taste again.
This iterative process — one change, one brew, one taste — is the correct way to dial in grind size. It feels slow initially, but it’s much faster than making large random adjustments and losing track of what actually worked.
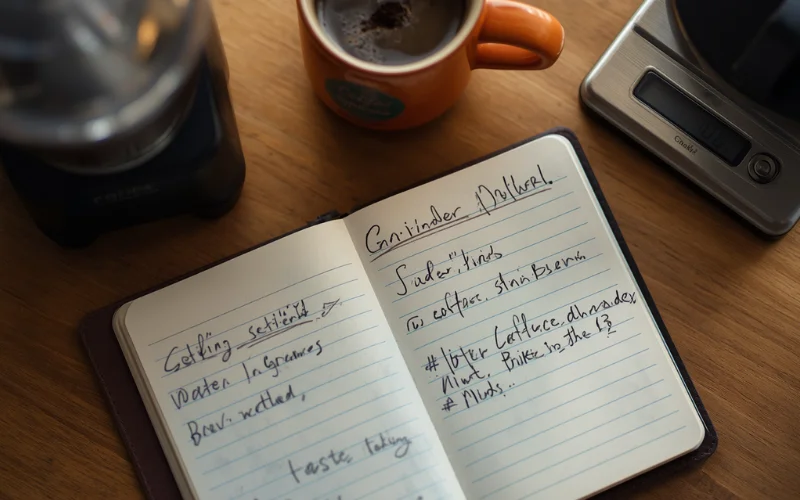
Once you find a setting that produces a cup you’re happy with, write it down. Note the grinder setting, coffee dose, water volume, method, and approximate brew time. This record is your baseline for that bean and brewing method.
How Taste Tells You What to Adjust
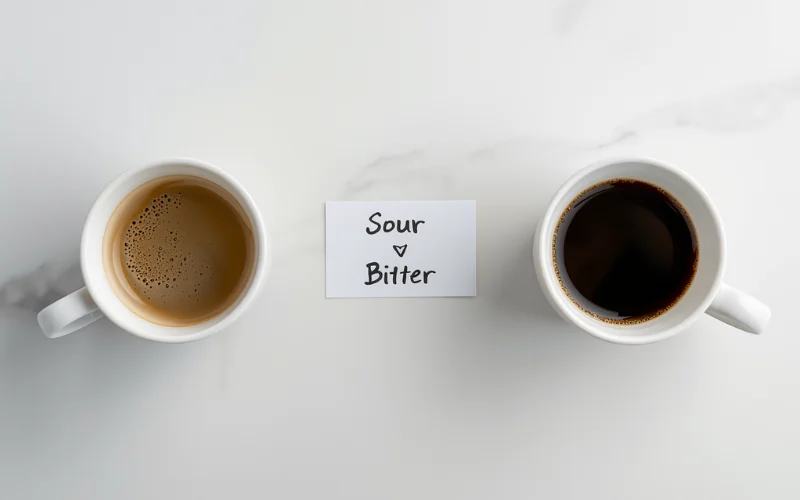
Your palate is the most reliable diagnostic tool for grind size you have. Two flavors tell you everything:
Bitterness is the signal for over-extraction. Water spent too long extracting — either because the grind is too fine, brew time ran too long, or water was too hot. For grind-related bitterness, grind one step coarser.
Sourness is the signal for under-extraction. Water passed through too quickly or didn’t extract enough — usually because the grind is too coarse. For grind-related sourness, grind one step finer.
Both sour and bitter at the same time point to uneven extraction — where some particles are over-extracted while others are under-extracted. This is usually a grinder-consistency problem rather than a grind-size problem. A blade grinder or worn burrs is a common cause.
Flat or hollow with no character is often a freshness issue rather than a grind issue. If adjustments aren’t moving the flavor in the expected direction, check whether your beans are past their best before continuing to adjust.
For detailed troubleshooting on each flavor problem, see Why Your Coffee Tastes Bitter and Why Your Coffee Tastes Sour.
When Should You Adjust Grind Size?
Most home brewers don’t need to adjust grind size daily. Once you’ve dialed in a setting for a particular bean and brewing method, that setting stays useful for the life of that bag.
Adjust when you:
- Switch to a different bag of coffee. Even beans from the same roaster at the same roast level can behave differently depending on the origin, processing method, and roast date. A fresh bag often needs a small recalibration.
- Change your brewing method. French press and pour over use completely different grind sizes. If you switch between methods, dial in separately for each.
- Notice flavor drifting as you work through a bag. As beans age past their optimal freshness window (typically 2–4 weeks after roasting), they extract slightly more easily. You may find yourself adjusting to a fractionally coarser setting as the bag progresses.
- Change your water temperature or ratio significantly. These variables interact with grind size. If you raise your water temperature notably for a light roast, you may find a fractionally coarser grind now produces better results.
- Get a new grinder. Settings don’t transfer between grinders. A “setting 5” on one model has no predictable relationship to “setting 5” on a different brand or model.
Common Grind Adjustment Mistakes
Adjusting while the grinder is runningThis is the most serious mistake to avoid. Adjusting burr spacing while beans are being ground can create inconsistent particle sizes and damage the burrs or motor over time. Always adjust before grinding.
Making large adjustmentsMoving several steps in one direction makes it impossible to know how much change each step contributed. When you overshoot the right setting, you can’t retrace your steps accurately. One click, one brew, one taste.
Not flushing old grounds after adjustingAny grounds left in the grinder from your previous setting will mix with the freshly ground coffee and muddy your test results. Grind and discard a small amount after adjusting before using the fresh grounds for your test brew.
Adjusting grind size and other variables simultaneouslyIf you change grind size and water temperature at the same time and the cup improves, you don’t know which change actually helped. Change one variable, evaluate the result, then decide whether another change is needed.
Assuming settings transfer between grindersIf you read online that a certain number produces medium-fine grounds, that applies to that reviewer’s specific grinder, not yours. Use texture descriptions — table salt, sea salt, raw sugar — as your reference points rather than numbers.
Not keeping recordsWhen you find a setting that works, write it down. Memory is unreliable across different bags of coffee and different brewing sessions. A note with the grinder setting, dose, water weight, and method takes 10 seconds and saves significant time on later recalibration.
For more on choosing the right tool for consistent grinding, see “Burr vs. Blade Coffee Grinders.”
Practical Tips for Consistent Grind Adjustment
Use your brewing method’s target brew time as a secondary guide.
For pour-over, the total drawdown time is a faster feedback signal than taste alone. If your V60 consistently finishes in under 2 minutes, grind finer before you even taste it.
Clean your grinder regularly
Coffee oils build up on burrs and grinding surfaces over time. Old residue changes how grounds behave and can make your grind feel inconsistent even when the setting hasn’t changed. A quick clean every two to three weeks makes a noticeable difference in grind consistency.
Give electric grinders a few seconds after starting before adding beans
This lets the motor reach consistent speed before grinding begins, which improves particle uniformity.
On stepped grinders, count and remember your clicks
Write down how many clicks from the finest setting produce your preferred grind for each method. “Pour over: 12 clicks from minimum” is a much more useful note than “medium-ish.”
On stepless grinders, use a reference mark
Place a small piece of tape or a permanent marker dot at your go-to positions for your most common brewing methods. It removes the guesswork when resetting after cleaning.
FAQs
How do I know if my grind size is correct?
Your coffee should taste balanced — no sharp sourness and no harsh bitterness, with sweetness and body present. Brew time should fall within the expected range for your method (for example, 2:30–3:30 from bloom to finish for a standard V60 pour over). When both taste and timing are on target, your grind size is right.
Should I adjust grind size every time I brew?
No. Once dialed in for a particular bean and brewing method, that setting works for the whole bag. Adjust when you open a new bag, switch brewing methods, or notice the cup quality drifting despite consistent technique.
Can I adjust grind size while the grinder is running?
No — and this is important. Adjusting burr spacing while beans are being processed can damage the burrs over time and cause inconsistent particle sizes in the current batch. Always stop the grinder first, adjust, then start again.
Why does my grind size need to be different for different brewing methods?
Each method gives water a different amount of time in contact with the grounds. Espresso extracts in under 30 seconds, so a very fine grind is needed to extract enough flavor in that time. Cold brew steeps for 12–24 hours, so an extra-coarse grind is needed to avoid over-extraction over that long contact time. Grind size matches extraction speed to available time.
Does the same grind setting work for every coffee?
No. Different beans — and even the same beans at different stages of freshness — extract at slightly different rates. Freshly roasted beans release CO2 that can affect flow, and denser beans (typically lighter roasts) extract more slowly than porous ones (darker roasts). Expect small adjustments when switching between beans, even at the same roast level.
Key Takeaways
- Adjust in small increments — one click or small rotation at a time, never large jumps.
- Never adjust while grinding — always stop first, then adjust, then grind a fresh test dose.
- Taste tells you the direction — bitter means go coarser, sour means go finer.
- Brew time confirms the adjustment — too fast means coarser, too slow means finer.
- Write down what works — grinder setting, dose, water weight, and method, for every bean you dial in.
Recommended Reading
- Coffee Grind Size Chart
- How Coffee Grind Size Affects Coffee Taste
- Coffee Extraction Explained
- Burr vs Blade Coffee Grinders
- Manual Coffee Grinder Buying Guide
- Pour Over Coffee Guide
- French Press Coffee Guide
- Why Your Coffee Tastes Bitter
- Why Your Coffee Tastes Sour
- Coffee Brewing Ratio Explained