
Quick Answer Box
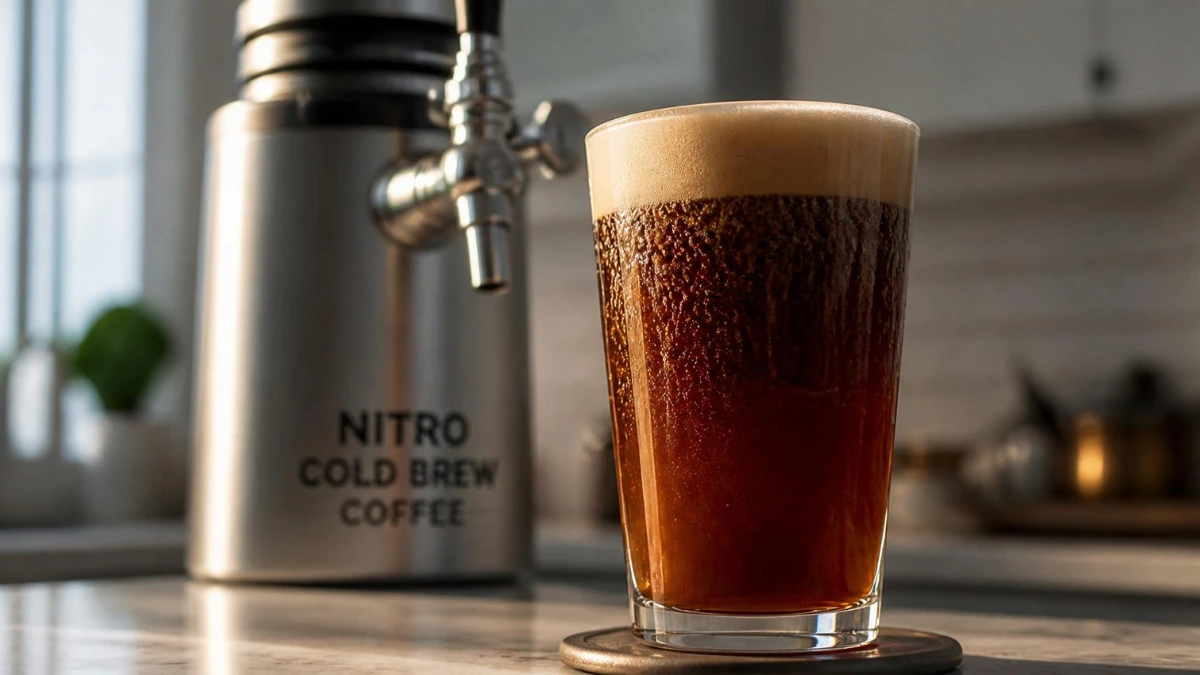
Nitro cold brew is cold brew concentrate infused with nitrogen gas through a fine valve, which creates the cascading microbubbles and creamy, stout-style foam cafés charge a premium for. To make it at home, you need three things: strong cold brew concentrate (a 1:4 ratio), a nitrogen source (N2 chargers), and a dispenser (whipped-siphon, handheld NitroPress, or mini keg).
Brew the concentrate, dilute about 1:1 in the dispenser with cold water or milk, charge with nitrogen, shake, rest 30 seconds, then pour through the restrictor nozzle for the cascade and foam head.
Introduction
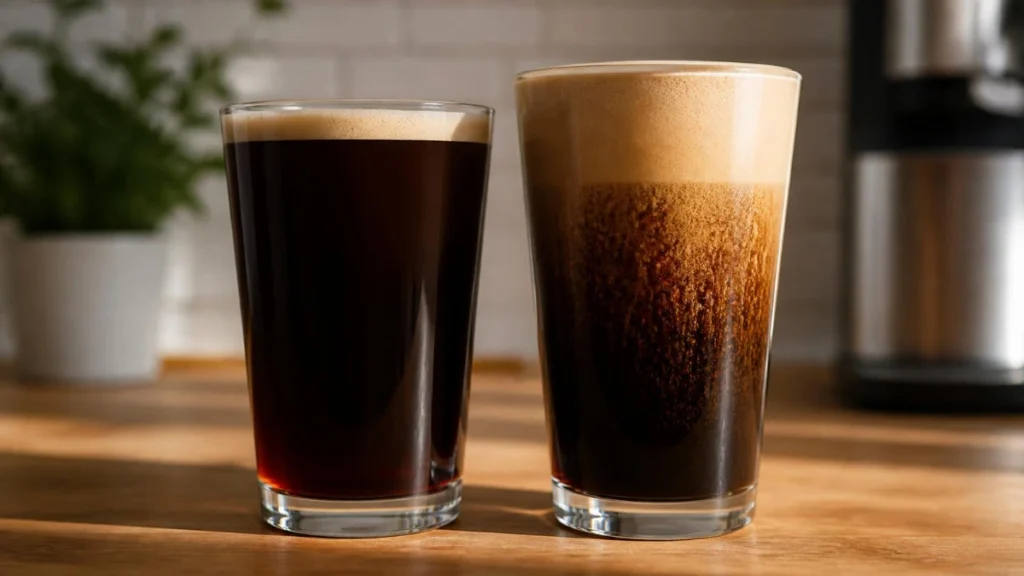
Cafés charge $5–$6 for nitro cold brew for one reason: the texture. Regular cold brew is smooth and low-acid; nitro adds a thick, velvety foam and a cascading pour that makes black coffee taste almost like it already has cream.
The good news: the café version is just three components—concentrate, nitrogen, and pressure—and each one works on a kitchen counter. This guide covers how nitro works, the base concentrate recipe, three home setups for different budgets, the exact pouring technique, and fixes for the four problems everyone hits (flat foam, weak body, bitter concentrate, no cascade).
What Nitro Cold Brew Actually Is
Nitro cold brew is cold brew coffee infused with pressurized nitrogen gas (N2). When the coffee is forced through a small valve, the nitrogen comes out of solution as thousands of tiny, stable microbubbles — that’s the cascade and the foam head you see in the glass.
Why nitrogen and not air or CO2? Nitrogen is insoluble in liquid, so it forms small, tight bubbles that last minutes instead of seconds, and it adds no flavor or carbonic acidity of its own. CO2 (the soda approach) would make coffee taste sparkling and sharp; air would oxidize it and flatten it. Nitrogen adds texture without changing taste—which is also why nitro coffee tastes naturally sweeter and creamier before any milk is added.
Two practical consequences for home brewers:
- You always start with concentrate. Nitro needs body; watery coffee makes watery foam. If your cold brew comes out thin, fix the base first — our guide to why cold brew tastes weak covers the usual causes.
- Nitrogen doesn’t add caffeine or flavor. The drink’s strength comes entirely from your concentrate ratio. Our cold brew vs iced coffee comparison explains how concentrate strength works.
What You Need
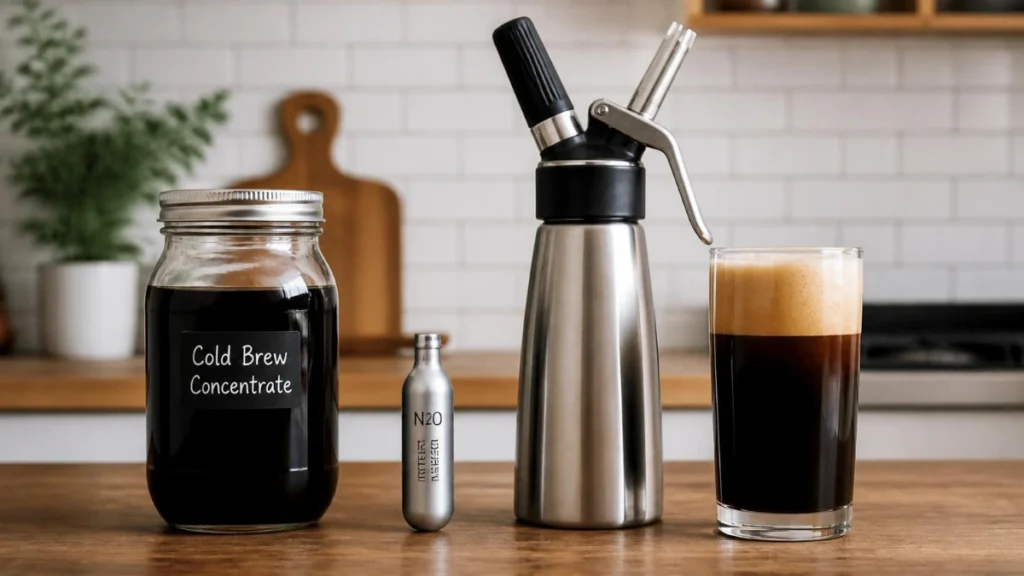
- Cold brew concentrate: roughly 1:4 coffee-to-water by weight, steeped 16–20 hours in the fridge (recipe below).
- Nitrogen (N2) chargers: small 2g cartridges of pure nitrogen. Use N2, not N2O whipped-cream chargers — see the note in the siphon section.
- A dispenser: one of the three setups below, from a $40 siphon to a keg-style tap system.
- Cold water or milk for dilution, and glasses that survive a tap pour.
Step 1: Brew the Base Concentrate
Nitro lives or dies on concentrate quality. Use a 1:4 coffee-to-water ratio by weight (for example, 100 g coffee to 400 g water) and steep for 16–20 hours in the refrigerator. This is the same ratio and window we recommend in our OXO Good Grips cold brew maker review, and it holds across immersion brewers.
Key details that matter more at nitro strength than for regular cold brew:
- Grind coarse and consistently —a medium or fine grind over-extracts the long steep into bitterness and clogs filters. Our coffee grind size chart shows the target texture.
- Filter twice if you can: mesh first, then a paper filter. Fine sediment in concentrate foams badly and quickly clogs a restrictor nozzle. Our reviews of the Takeya, Ovalware, and OXO cover how each maker’s filtration handles this.
- Chill the concentrate fully before nitrogen goes anywhere near it — warm liquid will not hold foam (this is the #1 nitro mistake).
Step 2: Choose Your Nitro Setup
There are three workable home setups. They all inject the same gas; they differ in capacity, cost, and how café-like the result is.
Setup 1: Whipped-cream siphon (cheapest entry, ~$40 + chargers)
A 1-pint cream whipper with an N2 charger is the classic home-barista route. Fill it two-thirds with concentrate, screw on the lid, charge with one 2g N2 cartridge, shake vigorously for 15–30 seconds, then refrigerate the siphon for 30 minutes (or submerge it in an ice bath for 10) before dispensing.
Charger warning: buy nitrogen (N2) chargers, not N2O cream chargers. N2O sweetens the drink and creates a looser, shorter-lived foam; cafés use pure N2. They look identical on a shelf.
Best for: trying nitro cheaply. Trade-off: one pint per charge, and pouring takes practice.
Setup 2: Handheld nitrogen dispenser (best balance, ~$150-$170)
Dedicated handheld nitro dispensers — like the NitroPress below — are purpose-built versions of the siphon: better seals, a proper restrictor nozzle for the cascade, and faster chilling. Fill halfway with concentrate, top with cold water or milk, charge, shake, wait 30 seconds, pour.
Best for: daily nitro drinkers who want café-style pours without a keg. Trade-off: same small-batch limit (~16 oz per charge).

- Compact handheld siphon layout, needing no electricity.
- Durable food-grade stainless steel dishwasher-safe body.
- Compatible with pure nitrogen or nitrous cartridges.
- Infuses cold brew, tea, and cocktail drinks.
- Specialized pressure nozzle creates rich velvety micro-foam.
Original NitroPress — handheld nitrogen dispenser. Portable stainless steel infuser that charges with standard N2 cartridges and pours a genuine cascade through its restrictor nozzle. No electricity, travels well, makes about 16 oz per charge.
Setup 3: Mini keg with tap (best for parties, ~$130–$160)
A keg-style nitro system — like the Royal Brew below — is a mini keg with a tap and a restrictor nozzle. You fill it with diluted concentrate, charge it with one or two N2 cartridges, and get week-long nitro on tap. This is the closest thing to the café setup, and once it’s charged, pouring is a two-second job all week.
Best for: households that drink nitro daily or entertain. Trade-off: fridge space, keg cleaning, and the highest upfront cost.

- The Fridge-friendly mini keg holds forty liquid ounces.
- Draught stout beer faucet delivers lacy foam.
- Supports both nitrogen and nitrous oxide cartridges.
- Integrated relief valve ensures safe quick depressurization.
- Includes tap, wrench, hose, and cleaning brushes.
Royal Brew Nitro Cold Brew Coffee Maker, 64 oz Home Keg. Stainless steel 64 oz keg with a stout-faucet style tap, built for standard N2 chargers. Holds a full week of nitro per fill — charge, pour, repeat.
Prices are approximate at publication — check the live Amazon listing for the current price.
Need the concentrate first? If you don’t brew cold brew at home yet, start with our maker reviews — the OXO Good Grips for the best extraction quality, the Takeya Deluxe for budget, or the VINCI Express if the 12–20 hour wait is the problem.
Step 3: Dilute, Charge, and Pour Like a Café
- Fill the dispenser halfway with concentrate (up to two-thirds if you like it strong), then top with cold water — or cold milk for a nitro latte experience. Cold liquid only; warmth kills the foam.
- Charge with N2: one 2g cartridge per pint of liquid. Insert the charger, let it fully discharge with a hiss.
- Shake hard for 15–30 seconds. Nitrogen is barely soluble—the shake forces it into solution. No shake, no foam.
- Rest 30 seconds to 30 minutes cold. The gas redistributes, and the foam stabilizes. Warm siphon = flat pour.
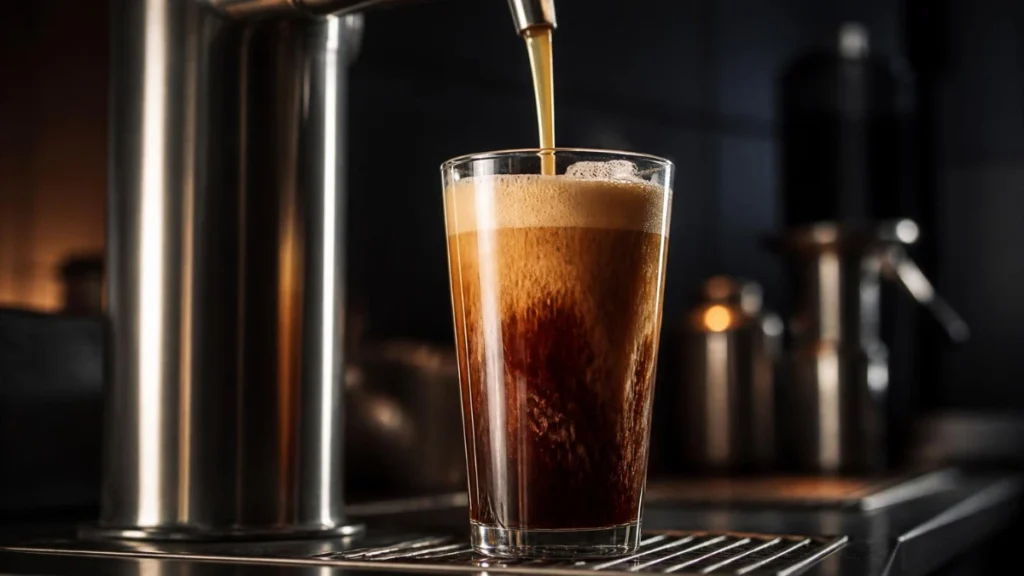
- Pour into a clean glass, straight down the center, starting fast and cutting the flow sharply. The cascade forms against a clean glass wall; soap residue kills it. Don’t stir after pouring — that’s the whole show, destroyed.
The first pour from any freshly charged dispenser is often weak — pour it out (or into a glass you’ll drink anyway) and the second pour cascades properly.
Troubleshooting: Flat, Bitter, Watery, or No Cascade
| Problem | Likely cause | Fix |
|---|---|---|
| Foam is thin and dies fast | Liquid too warm, or old/undercharged cartridge | Chill dispenser and coffee thoroughly; shake longer; use a fresh N2 charger |
| No cascade in the glass | Soap residue in the glass, or pouring too slowly | Rinse glass well, pour confidently down the center, cut the flow sharply |
| Drink tastes bitter | Concentrate over-extracted (grind too fine or steep too long) | Grind coarser and cap the steep at 18–20 hours; see our grind size chart |
| Drink tastes watery | Concentrate too weak or over-diluted | Brew at 1:4, dilute 1:1, and only then adjust — see why cold brew is weak |
| Sediment clogs the nozzle | Poorly filtered concentrate | Double-filter the concentrate (mesh + paper) before it enters the dispenser |
Is Home Nitro Worth the Money?
Do the math honestly. A dedicated handheld setup costs roughly $70–$90 plus about $0.50–$1 of N2 per batch; a café nitro costs $5–$6 a glass. A daily nitro habit pays for a handheld dispenser in under a month — the keg version in two to three — assuming you already brew concentrate. The honest trade-offs: you’ll waste the first pour learning the technique, chargers are a recurring (if small) cost, and batch sizes are small until you graduate to the keg.
If you drink nitro once a month as a café treat, this guide’s siphon-free cousin is fine: strong cold brew over ice (see our cold brew vs iced coffee breakdown). If you want it weekly at home, the gear pays for itself fast.
Frequently Asked Questions
Can I make nitro cold brew without special equipment?
Not really. The foam requires pressurized nitrogen through a small valve — a French press plunger, blender, or milk frother won’t build it. The cheapest honest setup is a $40 cream siphon plus N2 chargers.
What’s the right concentrate ratio for nitro?
Use a 1:4 coffee-to-water ratio by weight, steep for 16–20 hours in the fridge, then dilute about 1:1 in the dispenser. A stronger concentrate holds up better to milk dilution; a weaker one turns watery.
Can I use whipped cream (N2O) chargers instead?
You can, but you’ll get a sweeter, looser, faster-fading foam — N2O dissolves differently than N2. For true café-style nitro, buy pure nitrogen chargers. (Never use CO2 soda chargers — that makes sparkling, acidic coffee.)
Why doesn’t my nitro have the cascade?
Three usual suspects: a glass with soap film, liquid that isn’t cold enough, or not shaking enough for the nitrogen to dissolve. Fix those three and the cascade appears.
How long does home nitro keep?
A charged keg holds for days when it’s refrigerated— many people find week-old keg nitro fine, as nitrogen helps protect the coffee from oxidizing. It’s gentler on shelf life than a glass of iced coffee, which degrades in minutes.
Does nitro cold brew have more caffeine?
Only because of the concentrate. Nitrogen adds zero caffeine; the drink is strong because it’s built on a 1:4 concentrate, diluted 1:1—the same math as any cold brew.
Key Takeaways
- Nitro = cold brew concentrate + nitrogen + a restrictor valve. No component is optional.
- Start with a 1:4 concentrate, steep cold for 16–20 hours, and double-filter.
- Cold liquid, hard shake, patient rest — warmth and impatience are what kill the foam.
- Cheapest setup: a siphon (~$40). Best daily: a handheld dispenser (~$70–$90). Best household: a keg (~$130–$170).
- Buy N2 chargers, not N2O — the foams are not the same.
Recommended Reading
- Cold Brew vs Iced Coffee: What’s the Difference?
- OXO Good Grips Cold Brew Maker Review (2026)
- Takeya Cold Brew Maker Review (2026)
- Ovalware Airtight Cold Brew Maker Review (2026)
- VINCI Express Electric Cold Brew Maker Review (2026)
- Why Is My Cold Brew Weak? 7 Causes & Fixes (2026)
Related Posts
- How to Dilute Cold Brew Coffee Properly (Simple Guide for Beginners)
- Best Cold Brew Coffee Makers (2026): Top Picks for Smooth, Low-Acid Coffee at Home
- Cold Brew Ratio Chart: How Much Coffee and Water to Use
- Why Does My Cold Brew Taste Watery? 6 Causes & Fixes (2026)
- Cold Brew Coffee Guide: How to Make Smooth Coffee at Home