
Quick Answer Box
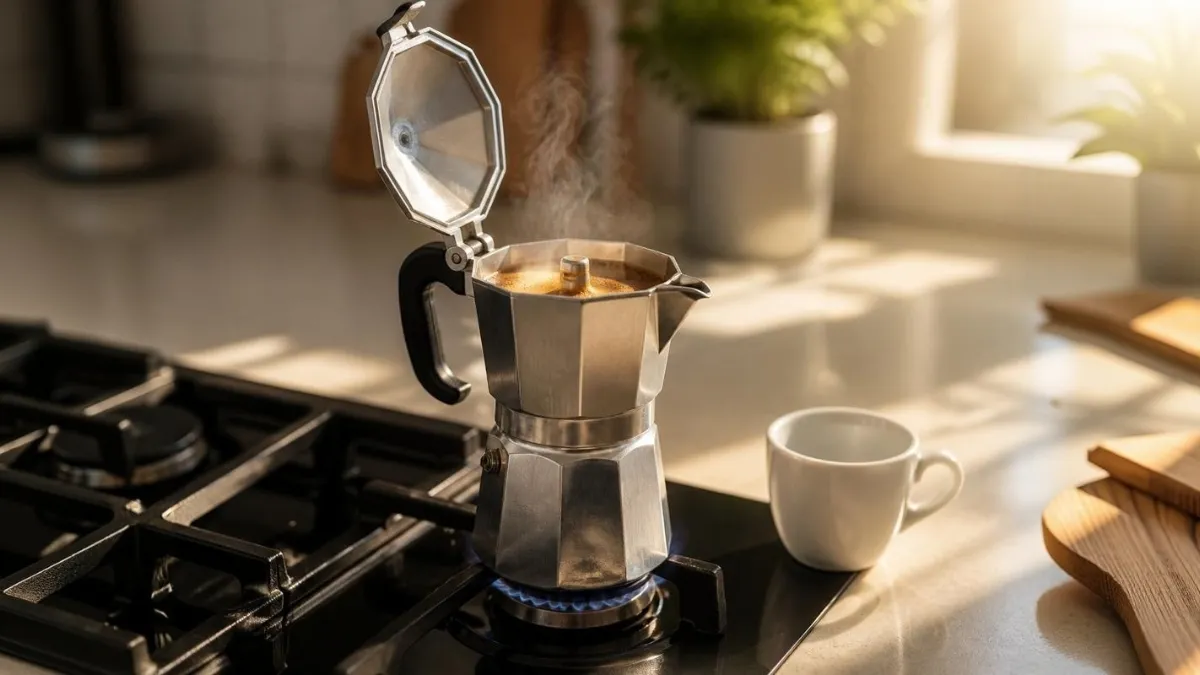
How do you use a moka pot? Fill the base with hot water up to the safety valve, set a loosely filled (never tamped) basket of medium-fine coffee on top, screw the chambers together, and brew on medium-low heat with the lid open. When the stream turns honey-brown and starts to gurgle, take it off the heat and cool the base under the tap to stop extraction. Total brew time: 4–6 minutes.
Introduction
The moka pot is the most-owned coffee brewer, yet most people don’t fully understand it. Invented by Alfonso Bialetti in 1933 and unchanged in essentials since, it sits in roughly nine out of ten Italian kitchens — and it delivers a rich, intense cup from equipment that costs less than a bag of good beans.
It is also the brewer most often brewed badly. Because it works by steam pressure on a stove, the variables that barely matter in a French press — heat level, starting water temperature, when to pull it off — decide everything here. Get them right, and the moka pot makes a dense, syrupy cup somewhere between filter coffee and espresso; get them wrong and it scorch-brews a bitter, metallic one.
This guide covers how the moka pot actually works, the ratio and grind that matter, a step-by-step brewing method, and fixes for bitter, weak, or sour cups that cover almost every “moka pots make bad coffee” verdict.
What Is a Moka Pot (and How Does It Work)?
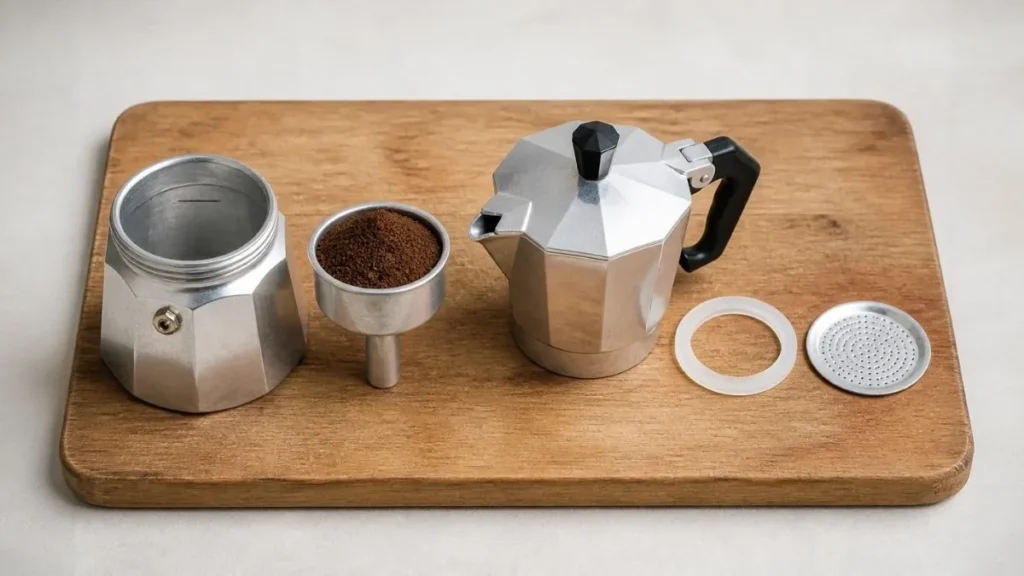
A moka pot has three chambers:
- The base holds water and sits on the stove.
- The funnel basket holds the ground coffee and sits in the base.
- The top chamber collects the finished coffee.
As the base heats, steam pressure pushes hot water up through the coffee bed and into the top chamber — the reverse of drip brewing. It is often called a stovetop espresso maker, but the pressure (roughly 1–2 bars) is far below a real espresso machine’s ~9 bars, so the result is not espresso. It is its own category: a concentrated, full-bodied brew that most people dilute or milk to taste.
| Moka pot | True espresso | |
|---|---|---|
| Pressure | ~1–2 bar | ~9 bar |
| Crema | Thin, light | Thick, persistent |
| Serving size | 40–50 ml per “cup” | 25–35 ml shots |
| Equipment cost | $15–$40 | $400+ |
Note the serving size: a “6-cup” moka pot makes about 300 ml total — six tiny 50 ml cups, not six mugs. Plan doses accordingly, or see our coffee-to-water ratio calculator to scale any recipe.
The Moka Pot Coffee Ratio
The classic ratio is 1:10 coffee to water by weight — stronger than filter coffee, gentler than espresso. In practice:
| Moka pot size | Coffee | Water | Output |
|---|---|---|---|
| 3-cup | ~15 g | ~150 ml | ~125 ml |
| 6-cup | ~28 g | ~280 ml | ~250 ml |
| 9-cup | ~40 g | ~420 ml | ~375 ml |
Two practical rules that matter more than the exact numbers:
- Fill the basket and level it — never tamp. The moka pot needs loose grounds so the pressure can push water through evenly. Tamping is the single most common cause of a stalled, bitter brew.
- Fill the base to just below the safety valve. More water than that dilutes the brew and can vent steam (and coffee) dangerously. The water level, not a scale, sets the dose here.
If you want the numbers to repeat exactly, weigh once with the same pot — then the fill lines alone carry the recipe, the same habit we recommend in how to use a coffee scale.
Best Grind Size for Moka Pot
Aim for medium-fine — visibly coarser than espresso grind, finer than a V60 pour-over grind. A useful reference is fine table salt.
- Too fine (espresso-fine): the pressure can’t push water through the dense bed. The pot stalls, brews slowly, and over-extracts into bitterness. This is the #1 moka pot mistake.
- Too coarse (pour-over coarse): water rushes through under-extracted. The cup is thin, sour, and hollow — our sour coffee fix guide names the pattern.
Because the moka pot grind sits between two common settings, a grinder with clear steps makes a real difference — our grind size chart shows where each method sits on the dial, and how long to grind by method covers blade-grinder approximations.
Water Temperature: Start Hot
The traditional method fills the base with cold water — and it is the reason many moka pots brew metallic, over-extracted coffee. Cold water heats slowly with the pot, “cooking” the grounds the whole time and scorching the first, best extraction.
The fix, validated by specialty coffee testing: start with pre-boiled hot water in the base. The grounds skip the scorching ramp-up and extract cleanly from the first seconds. Handle the base by the bottom (never the threads) while filling — the metal heats fast.
Brewing heat itself stays at medium or medium-low. High heat brews fast but bitter; low heat drags and stews. For how this interacts with roast level, see our coffee brewing temperature guide.
Step-by-Step: The Classic Moka Pot Method
- Boil the kettle. You’ll use it for the base now and to preheat cups later.
- Fill the base. Pour hot water into the bottom chamber up to just below the safety valve. Hold the base by its sides.
- Fill the basket. Drop in medium-fine grounds, level the surface with a finger or the funnel’s edge, and brush stray grounds off the rim and threads. Do not tamp.
- Assemble. Seat the basket in the base and screw the top chamber on snugly — use a towel; the base is hot. A loose seal vents steam sideways and stalls the brew.
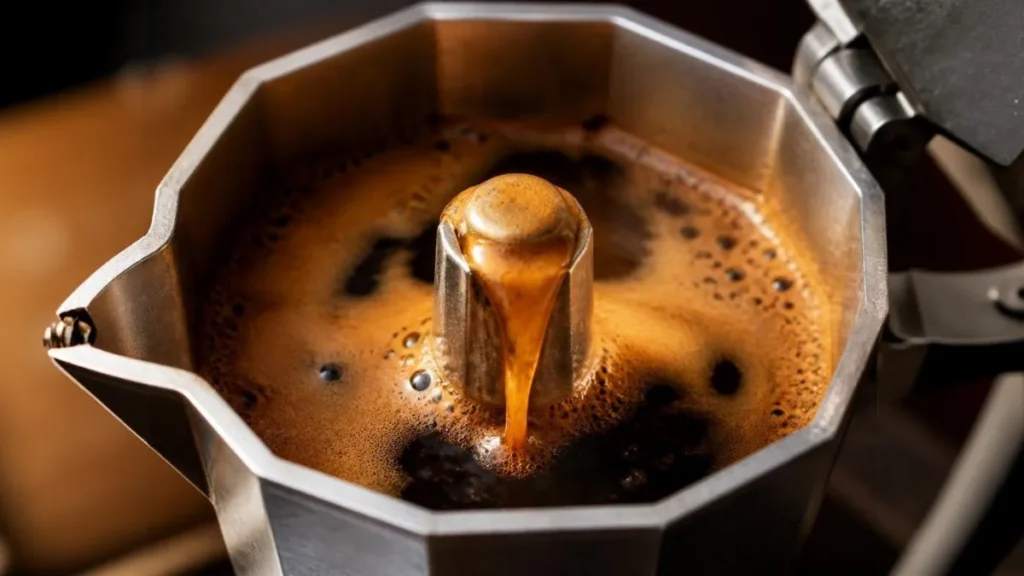
- Brew on medium-low heat, lid open. Place the pot on a burner sized to its base. Watch the stream, not the clock: after 4–6 minutes, thick, honey-brown coffee begins to rise.
- Stop at the gurgle. When the stream lightens and the pot sputters and hisses, extraction is done — pulling bitter, watery dregs from the bed. Take it off the heat.
- Cool the base. Run the bottom under cold tap water for a few seconds. This kills the residual steam pressure that would otherwise keep “cooking” the coffee in the top chamber.
- Stir, pour, enjoy. Stir the collected coffee once (early pours are denser than late ones), pour into small cups or over milk, and dilute with hot water to taste for Americano-style mugs.
The Fixes: Bitter, Weak, or Sour?
| Symptom | Usual cause | The fix |
|---|---|---|
| Bitter, scorched | Cold-water start, high heat, brewed past the gurgle | Start with hot water, medium-low heat, stop at the gurgle |
| Thin, sour | Grind too coarse, or heat too low (stalled brew) | Grind finer; confirm the stream actually rises in 4–6 min |
| Metallic taste | New pot not seasoned, or soap-scrubbed aluminum | Brew 2–3 throwaway batches in a new pot; rinse only |
| Steam vents sideways | Worn gasket or loose seal | Replace the gasket (annual consumable); tighten fully |
Deeper diagnosis of off-flavors lives in our guides to why coffee tastes bitter and under- vs over-extracted coffee.
Care: Make It Last Decades
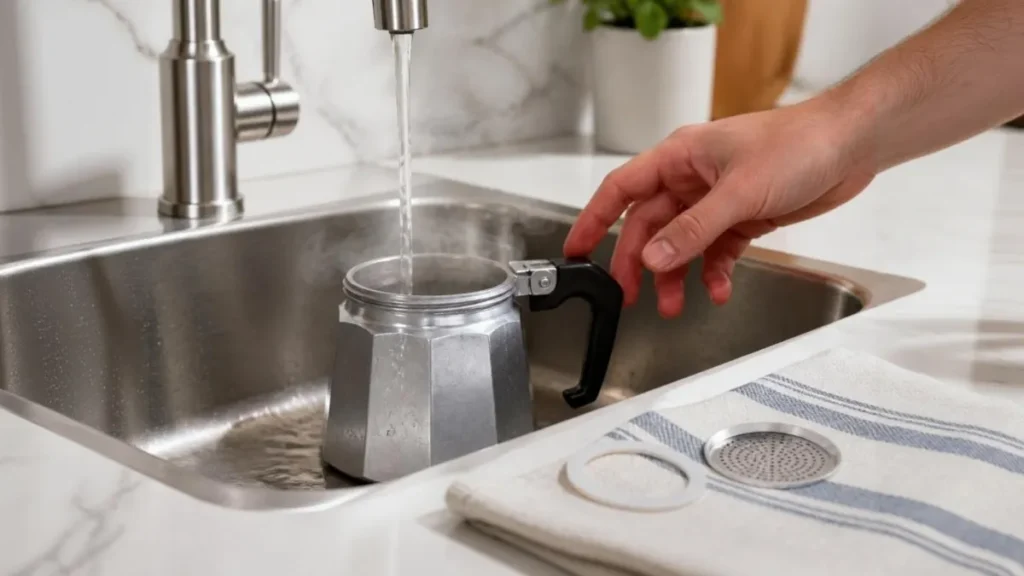
A moka pot has exactly three wear items — the gasket, the filter plate, and the center tube. Rinse the parts with hot water after each brew (skip dish soap on aluminum models — it strips the coffee seasoning that keeps brews smooth), dry fully before reassembly, and replace the rubber gasket yearly or when the seal stops feeling snug.
Deep-clean with a baking-soda soak once a season. Given the price, a well-kept moka pot is the cheapest coffee equipment you will ever own — it even fits our essential brewing tools and starter setup under $100 lists with room to spare.
FAQs
Is a moka pot the same as espresso?
No. A moka pot brews at ~1–2 bars of pressure versus espresso’s ~9 bars. The cup is strong and concentrated but lacks true espresso’s crema and intensity. Think of it as its own style — “stovetop coffee” — that works beautifully with milk or dilution.
What ratio should I use in a moka pot?
Start with 1:10 coffee to water by weight (about 28 g coffee for a 6-cup pot). The fill lines and basket capacity do most of the dosing for you once calibrated.
Why does my moka pot taste bitter?
Almost always extraction overrun: cold-water start, heat too high, or brewing past the gurgle. Start with hot water in the base, brew on medium-low, and kill the heat the moment the stream lightens.
Should I tamp the coffee in a moka pot?
No — level it, never tamp. Tamping compresses the bed and can stall the brew or force dangerous pressure buildup against the safety valve.
Can I make an Americano with a moka pot?
Yes — that is its best trick. Brew a full batch and dilute each 50 ml serving with 100–150 ml of hot water for a mug-strength cup, the same post-brew dilution logic we use in cold brew dilution.
Moka pot or French press?
Different cups, not better or worse: the moka pot is intense, concentrated, and unforgiving of heat errors; the French press is gentle, forgiving, and heavy-bodied. Our French press vs moka pot comparison covers the full head-to-head.
Key Takeaways
- 1:10 ratio, medium-fine grind, hot water in the base, medium-low heat — the four settings that produce a proper moka pot cup.
- Level the basket, never tamp, and brew with the lid open so you can stop at the gurgle.
- Cool the base under the tap after brewing — residual heat is what scorch-brews bitter coffee.
- A 6-cup pot serves six small cups or two mugs — the naming is 1950s Italian, not modern mug reality.
Recommended Reading
- Home Coffee Brewing Guide
- Coffee Grind Size Chart
- Coffee Brewing Temperature Guide
- Coffee Extraction Explained
- French Press vs Moka Pot: Which Brewing Method Is Better?