
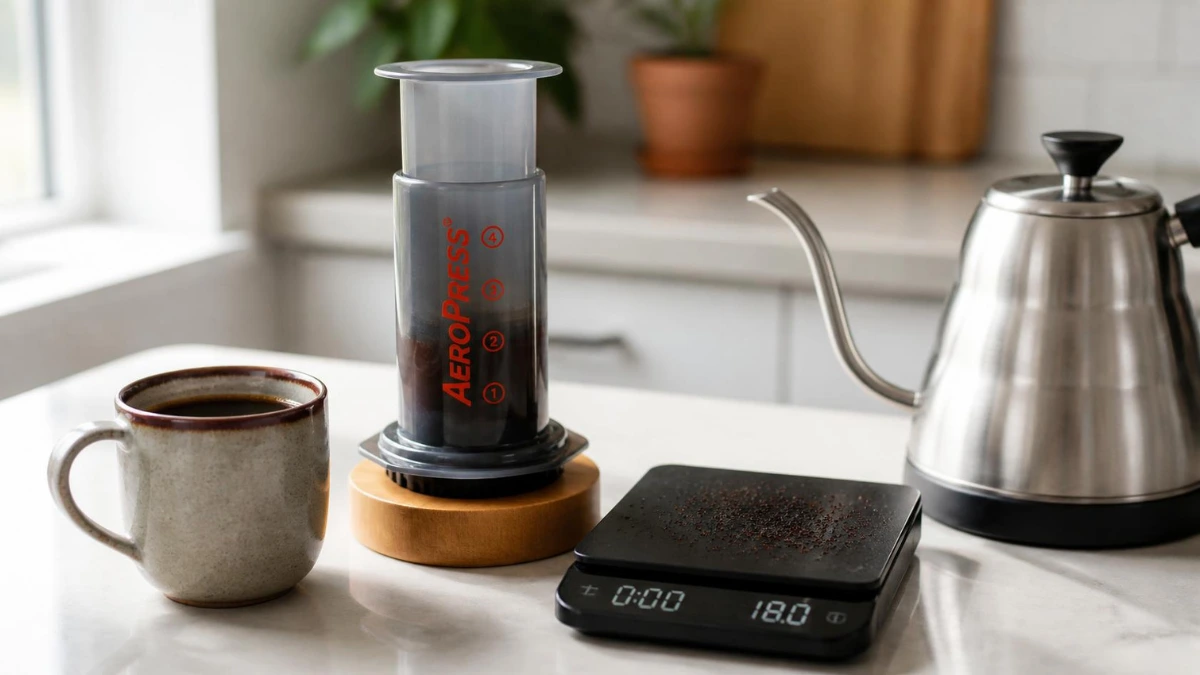
Quick Answer Box
How do you use an AeroPress? Add a folded paper filter to the cap, rinse it, and screw the cap on. Place the brewer on a mug, add one scoop (about 11–17 g) of medium-fine coffee, pour in hot water at 175–205°F (80–96°C), stir for 10 seconds, and steep for 1–2 minutes. Then press down gently for 20–30 seconds until it hisses. Total brew time: about 2–3 minutes.
Introduction
The AeroPress might be the most beginner-friendly coffee brewer ever made, and it is one of the few brewing methods RoastVista hasn’t covered in depth—until now. It is cheap, nearly indestructible, endlessly forgiving, and it brews a cup that sits somewhere between pour-over clarity and French press body.
It is also one of the quietest variables in coffee brewing. Most beginners focus on grind size, ratio, and beans — which makes sense — but the AeroPress rewards a small amount of method with a disproportionately good cup.
The good news: there is no single “correct” recipe. There is a reliable starting point, a few boundaries worth respecting, and a couple of easy variations (including iced coffee) that cover almost everything else.
This guide covers the ratio, grind, and water temperature that actually matter, a step-by-step walkthrough of the classic method, the inverted method, and the mistakes that cause most bad AeroPress cups.
[Building your first setup? Start with our Home Coffee Brewing Guide.]
What Is an AeroPress?
Invented in 2005 by Aerobie engineer Alan Adler, the AeroPress is a syringe-shaped immersion-and-pressure brewer. Grounds steep briefly in a small chamber, then you press the plunger to push the coffee through a paper filter into your mug.
It combines ideas from three methods:
- Immersion (like a French press): grounds float freely in water, so extraction is even and forgiving.
- Pressure (a gentle push, not espresso-level): adds a little extra extraction and body at the end.
- Paper filtration (like pour-over): removes fines and most oils for a clean, sediment-free cup.
The result is a fast, smooth, low-bitterness brew — and the reason the AeroPress has its own world championship with thousands of competing recipes.
Why Brew With an AeroPress?
| Benefit | Why it matters |
|---|---|
| Speed | Full brew in 2–3 minutes, cleanup in 10 seconds |
| Forgiveness | Even extraction makes it hard to produce a bitter cup |
| Consistency | Small chamber, quick brews — easy to repeat a recipe |
| Portability | Lightweight, shatterproof, camp-stove friendly |
| Flexibility | Brews everything from bright filter-style cups to concentrate for lattes |
| Price | Less than most dripper-and-server combos |
If you already own a French press and want something cleaner and faster for single mugs, the AeroPress is the natural second brewer. (We compare them directly in AeroPress vs French Press: Which Should You Buy?.)
What You Need
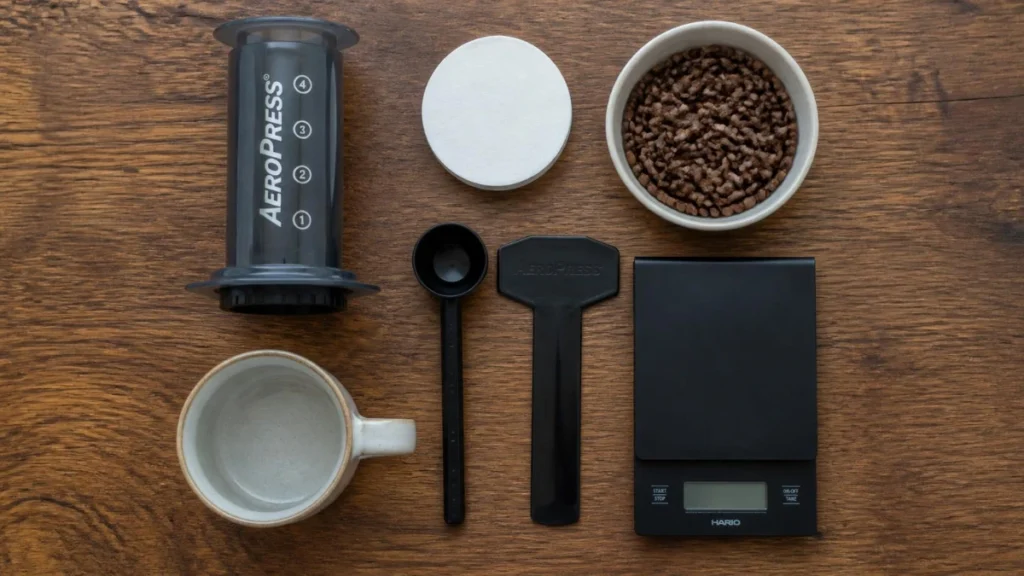
- AeroPress brewer (Original or Clear), with plunger, filter cap, and basket
- AeroPress paper filters (micro-filters)
- Medium-fine ground coffee — see our Coffee Grind Size Chart
- Kettle (a gooseneck helps but is not essential at this scale)
- Mug
- Digital scale (optional but recommended — see why a scale matters)
- Stirrer or spoon
The AeroPress Coffee Ratio
The classic starting ratio is 1:12 to 1:15 — coffee to water by weight. One scoop from the AeroPress scoop is roughly 11–13 g, which pairs well with 150–200 ml (5–7 oz) of water.
| Strength | Ratio | Dose | Water |
|---|---|---|---|
| Bright and tea-like | 1:15 | 11 g | 165 ml |
| Balanced (start here) | 1:13 | 13 g | 170 ml |
| Strong, concentrated | 1:10–1:12 | 15–17 g | 150 ml |
Two notes on ratio:
- A strong ratio is not espresso. Even 1:10 AeroPress output is filter-style concentrate — enough for Americano, over-dose, or seth-style milk drinks, but not a true espresso replacement.
- Dilute rather than over-dose. If a cup is too strong, brew at 1:13 and top up with hot water afterward. The same logic we use for diluting cold brew applies here: adjust strength after extraction, not during.
Use our Coffee-to-Water Ratio Calculator to scale the ratio to any mug size.
Best Grind Size for AeroPress
Aim for medium-fine — finer than most pour-over grinds, coarser than espresso. Practical references:
- Slightly finer than table salt
- Finer than a V60 grind, visibly coarser than a moka pot grind
Because the AeroPress brews in under two minutes, going too coarse under-extracts (sour, thin cups — our sour coffee fix guide explains why). Going truly fine, like espresso, over-extracts quickly and makes pressing difficult.
AeroPress Brewing Temperature
Unlike most methods, the AeroPress has a genuinely wide usable range: 175–205°F (80–96°C).
- 175–185°F (80–85°C): darker roasts and very fresh light roasts — reduces bitterness (this lower range is also why the AeroPress suits coffee lovers sensitive to harshness)
- 190–205°F (88–96°C): medium and light roasts — extracts more sweetness
If you are coming from pour-over or French press, start at 195°F (90°C) and adjust from there. Our full Coffee Brewing Temperature Guide explains how these ranges interact with roast level. A temperature-controlled kettle removes the guesswork — options in every budget are covered in our gooseneck kettle guide.
Step-by-Step: The Classic AeroPress Method
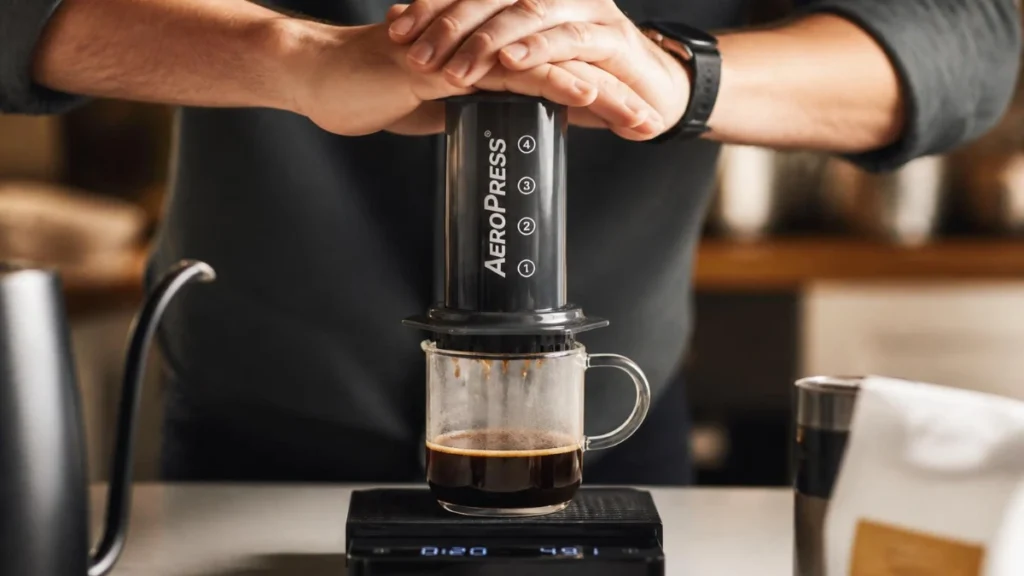
This is the standard “right-side-up” recipe — the most reliable place to start.
- Rinse the filter. Seat a paper microfilter in the cap, rinse it with hot water (to remove paper taste), and screw the cap onto the chamber.
- Set up. Place the brewer on top of your mug. Place the brewer on your scale and tare.
- Add coffee. Add 13 g of medium-fine coffee. Gently shake to level the bed.
- Start the timer and pour. Add 170 g of water at 195°F (90°C) within about 15 seconds.
- Stir. Stir gently back and forth three times for about 10 seconds. This saturates every ground.
- Steep. Insert the plunger just far enough to create a seal (this slows heat loss) and let it sit. Steep 1:30–2:00 total from the start of the pour.
- Press. At 2:00, press down slowly and steadily for 20–30 seconds. Stop at the first soft hiss — pressing to the very bottom forces air and bitter fines through.
- Finish. Unscrew the cap, pop the compact “puck” into the trash, rinse the rubber seal, done. Total cleanup: about 10 seconds.
The Inverted AeroPress Method (and When to Use It)
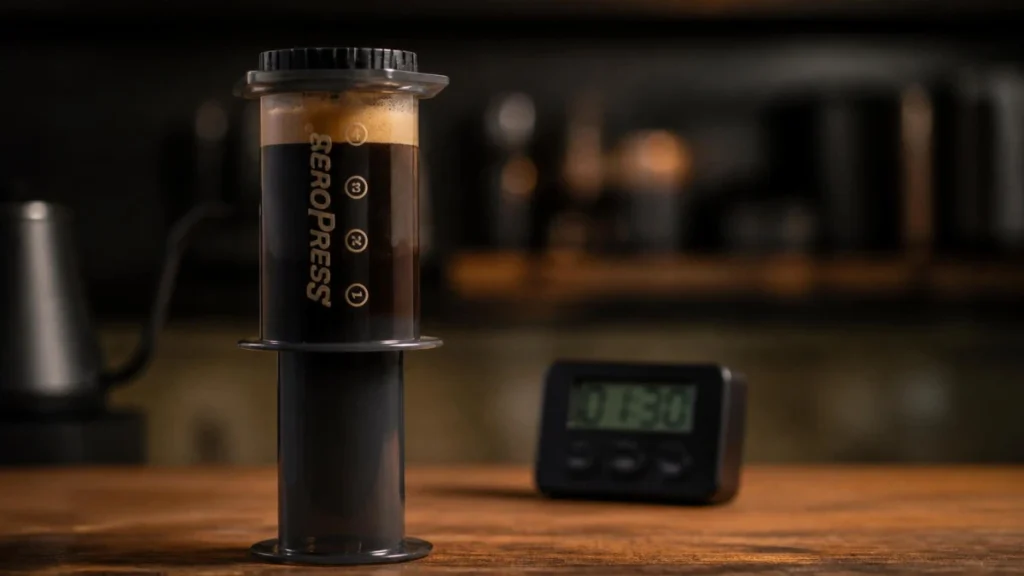
The inverted method flips the brewer upside down: plunger at the bottom, chamber full of steeping coffee on top. Nothing drains until you flip it onto the mug and press.
Use it when: you want longer steeps (3+ minutes) for fuller extraction, or when making concentrate for milk drinks.
How, briefly: assemble with the plunger just barely inserted, add coffee and water while the brewer sits plunger-down, steep, then place the mug on top, flip in one confident motion, and press.
One honest caution: the seal can slip mid-flip, and hot coffee goes where it lands. Keep the flip low over the counter, and never use a full chamber until you have flipped a half batch a few times. For most daily cups, the classic method is faster and safer — the flavor difference is modest.
Three AeroPress Recipes Worth Trying
| Recipe | Ratio & dose | Temp | Time | Notes |
|---|---|---|---|---|
| Classic balanced | 1:13 — 13 g / 170 g | 195°F / 90°C | 2:00 | The everyday recipe above |
| Iced AeroPress | 1:7 hot water + equal ice | 200°F / 93°C | 1:45 | Brew 80 g water over 80 g ice in the mug; the ice cools the cup instantly — for more, see iced coffee with a French press and cold brew vs iced coffee |
| Latte-style concentrate | 1:8 — 16 g / 130 g | 195°F / 90°C | 2:30 | Top with steamed milk for a café-style drink at home |
Beans matter as always — our guide to the best coffee beans for different brewing methods covers what to buy.
Five Common AeroPress Mistakes
- Skipping the filter rinse. Unrinsed paper tastes papery. Two seconds of hot water fixes it.
- Pressing to the bitter end. Stop at the hiss; the last thin sips are air and fines, not coffee.
- Grinding espresso-fine. Fine grinds over-extract at 2 minutes and make pressing a workout. Medium-fine is the target.
- Ignoring the ratio. Free-pouring water is the fastest route to a watery cup. Weigh once, and the recipe repeats forever.
- Judging it after one brew. The AeroPress has a dozen dials (dose, ratio, temp, time, stir). Change one variable at a time — the same discipline we teach in coffee extraction explained.
Cleaning and Care
Twist off the cap, eject the puck, rinse the rubber plunger seal. That is the whole routine. Once a week (or if pressing feels sticky), pull the seal off the plunger and wash under warm water. Never use a dishwasher or scrub the chamber with abrasives — the polycarbonate stays clear for years with a simple rinse.
FAQs
How much coffee does an AeroPress make per brew?
The Original chamber holds about 220–230 ml — one large mug or two small ones. For bigger batches, brew twice or dilute a concentrate recipe with hot water.
Is the AeroPress the same as espresso?
No. Even strong AeroPress recipes lack the ~9 bars of pressure real espresso requires. Think of it as a fast, clean filter brew that can stand in for espresso-based drinks when topped with water or milk.
Paper or metal filter for AeroPress?
Paper for clarity and easy cleanup; metal for more body and zero waste. Start with paper — it is what every standard recipe assumes.
Why does my AeroPress coffee taste weak?
Check the ratio first (most “weak” complaints are 1:18 pours), then grind. Our weak-coffee troubleshooting logic applies: fix ratio, then grind, then temperature—one variable at a time.
How long does an AeroPress last?
Indefinitely, for practical purposes. It has no electronics and no glass. Replace the rubber seal every few years if pressing starts to feel loose.
Key Takeaways
- Start with 1:13 (13 g coffee / 170 g water) at 195°F (90°C), medium-fine grind, 2-minute total brew — the recipe 90% of cups should begin from.
- The AeroPress range is wide (175–205°F) — lower for dark roasts, higher for light roasts.
- Press until the hiss, not to the bottom.
- Inverted method for long steeps and concentrates; classic method for everything else.
- Cleanup takes 10 seconds — there is no excuse for skipping the weekly seal rinse.
Recommended Reading
- Home Coffee Brewing Guide
- Coffee Grind Size Chart
- Coffee Brewing Temperature Guide
- Coffee-to-Water Ratio Calculator
- AeroPress vs French Press: Which Should You Buy? (2026)
Related Posts
- Coffee Extraction Explained
- Best Coffee Beans for Different Brewing Methods
- Why Your Coffee Tastes Sour and How to Fix It